IPM2のバージョンをアップグレードする手順を解説します。
※ アップグレードを実行すると、IPM2が再起動します。
はじめに
IPM2のバージョンをアップグレードするには、有効期限内のMaintenanceライセンスが必要です。有効期限が切れている場合、ライセンスを更新したあとにアップグレードを実行してください。
アップグレードファイルをアクティベートする時に、「IPM2 OVAのスナップショット取得」と「IPM2 設定ファイルのセーブ」を推奨されます。作業の途中で推奨された時に実施するよりも、作業前に済ませておくほうが容易となります。
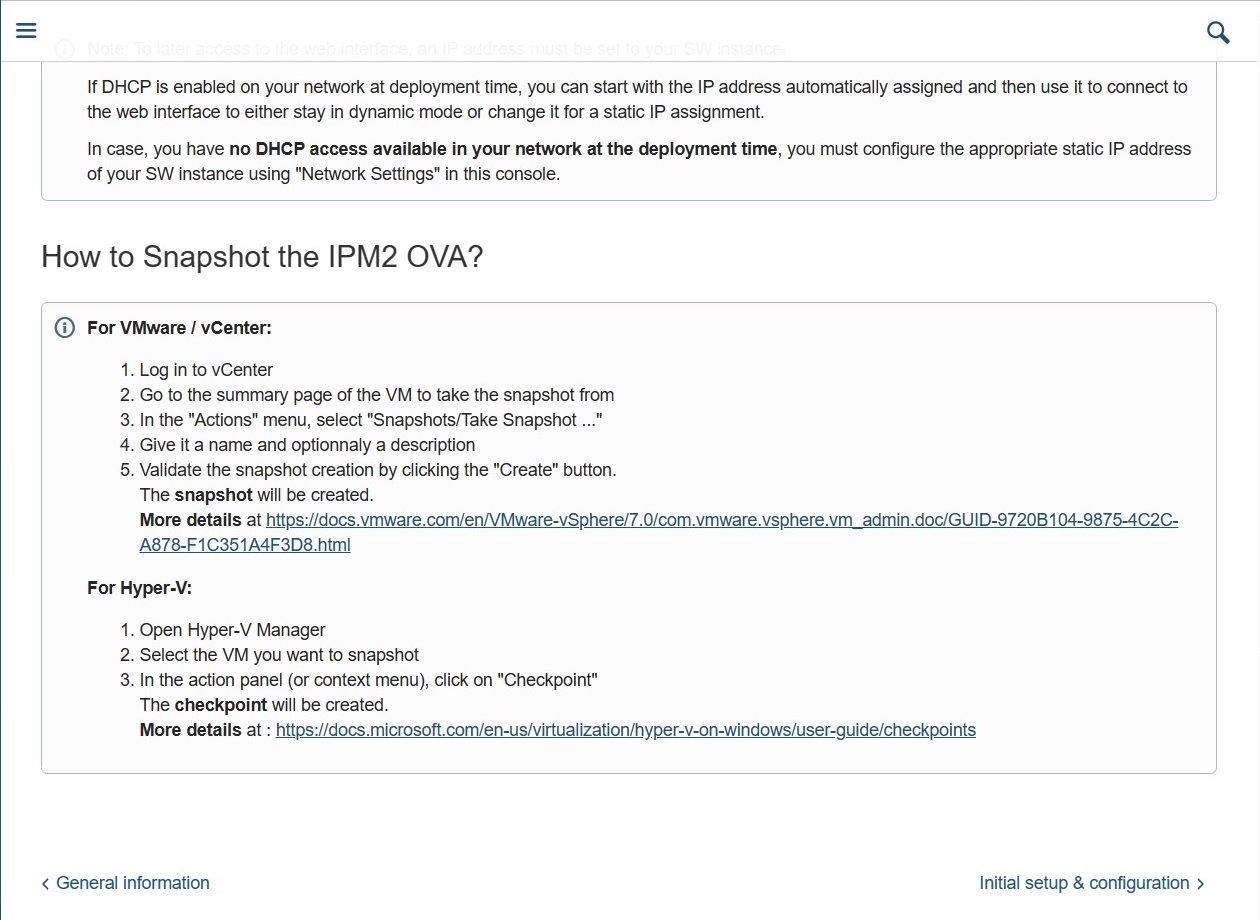
IPM2 仮想マシンのスナップショット取得
IPM2にてVMwareとHyper-Vのスナップショット取得手順が紹介されます。詳細は各ベンダー様の公式ドキュメントを参照してスナップショットを取得してください。
IPM2 設定のセーブ
アップグレーを実行する前に、IPM2の設定を保存しておくことも推奨されます。セーブの手順は下記ブログをご覧ください。
【IPM2】設定のセーブとリストア
IPM2 アップグレードファイルのダウンロード
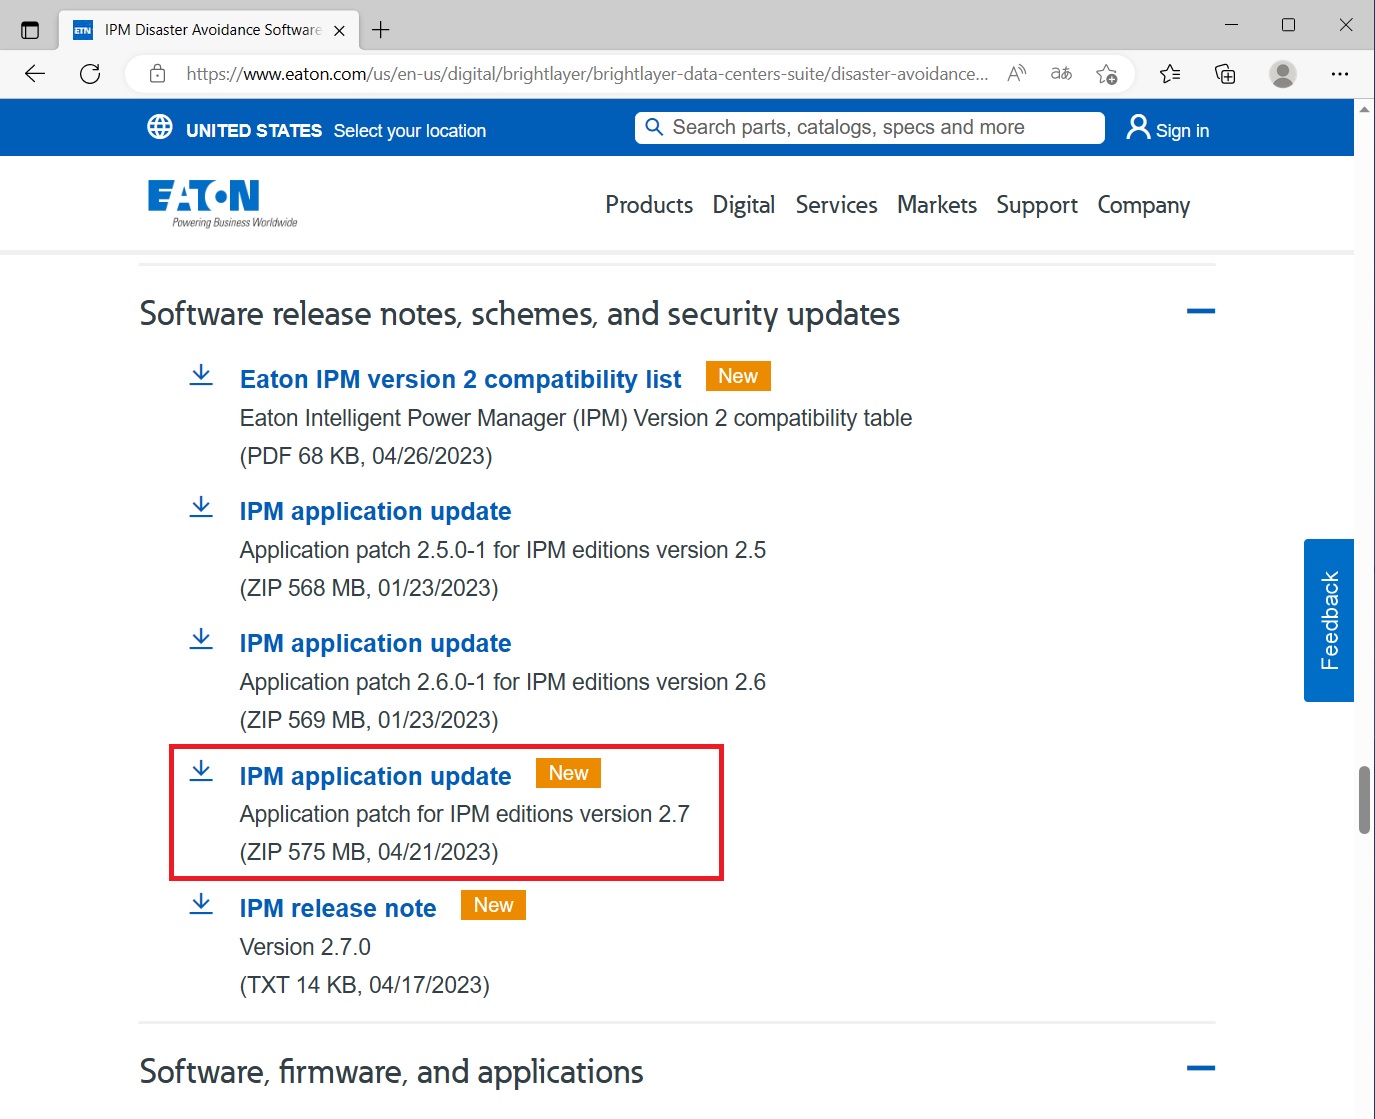
IPM2のアップグレードファイルは、Eaton社Webサイトから入手します。
https://www.eaton.com/gb/en-gb/digital/brightlayer/brightlayer-data-centers-suite/disaster-avoidance-software.html
下へスクロールして、[Software release notes, schemes, and security updates ]を展開。Update用のIPM2をダウンロードします。
※ 基本的に「Free Download Manager」を使用してダウンロードしてください。
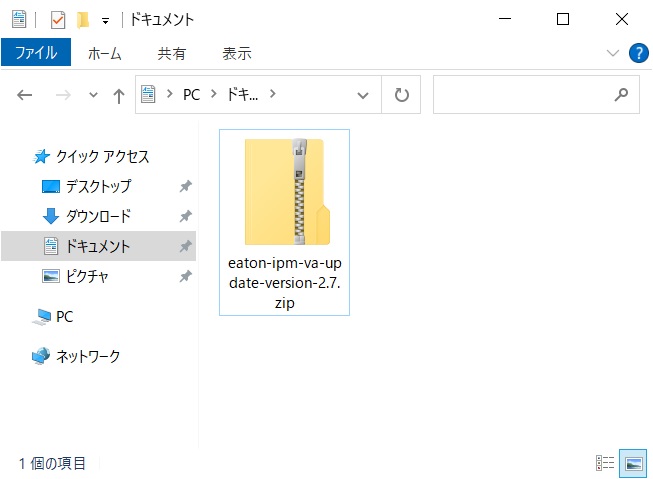
ダウンロードしたzipファイルを任意の解凍ソフトで展開します。
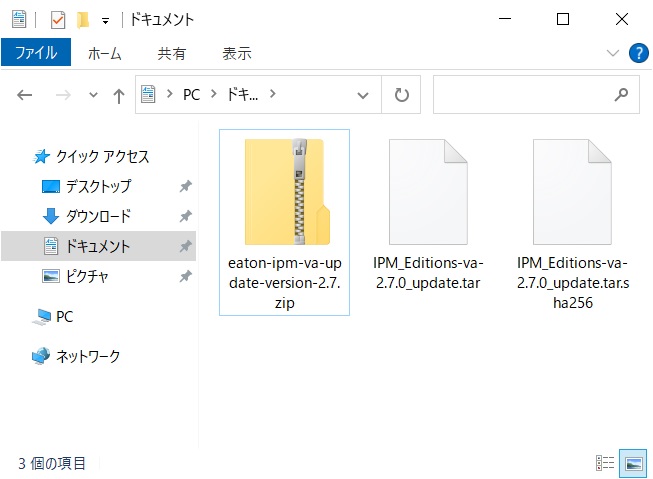
同フォルダに展開しました。
IPM2 アップグレード実行
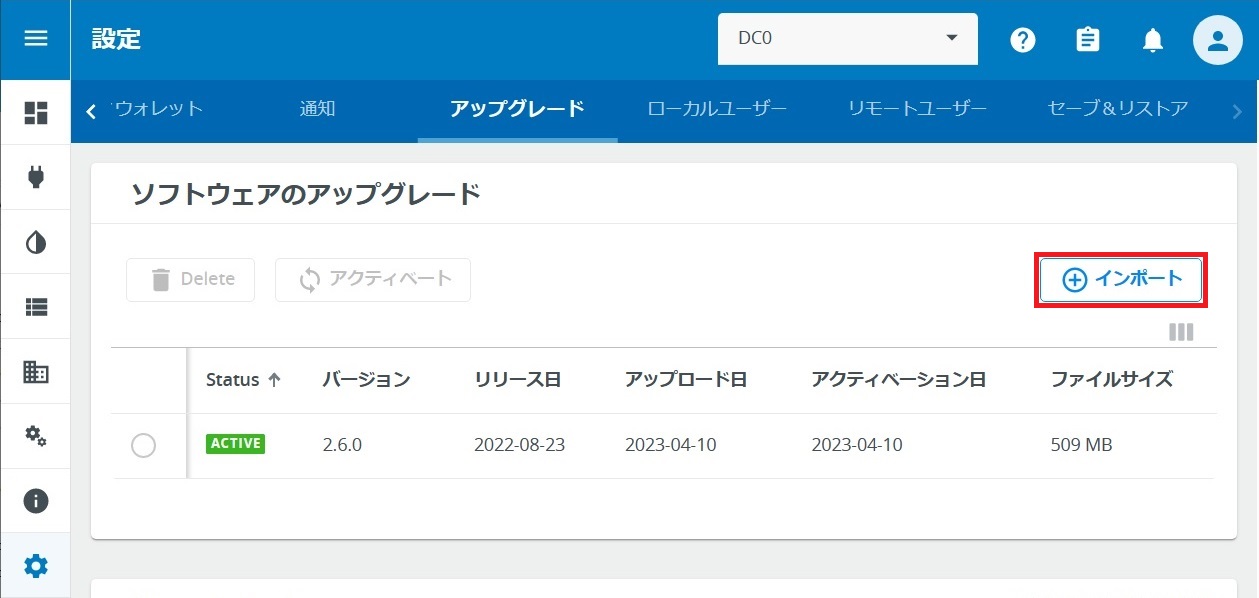
設定 > アップグレード
ソフトウェアのアップグレード内の[インポート]を押します。
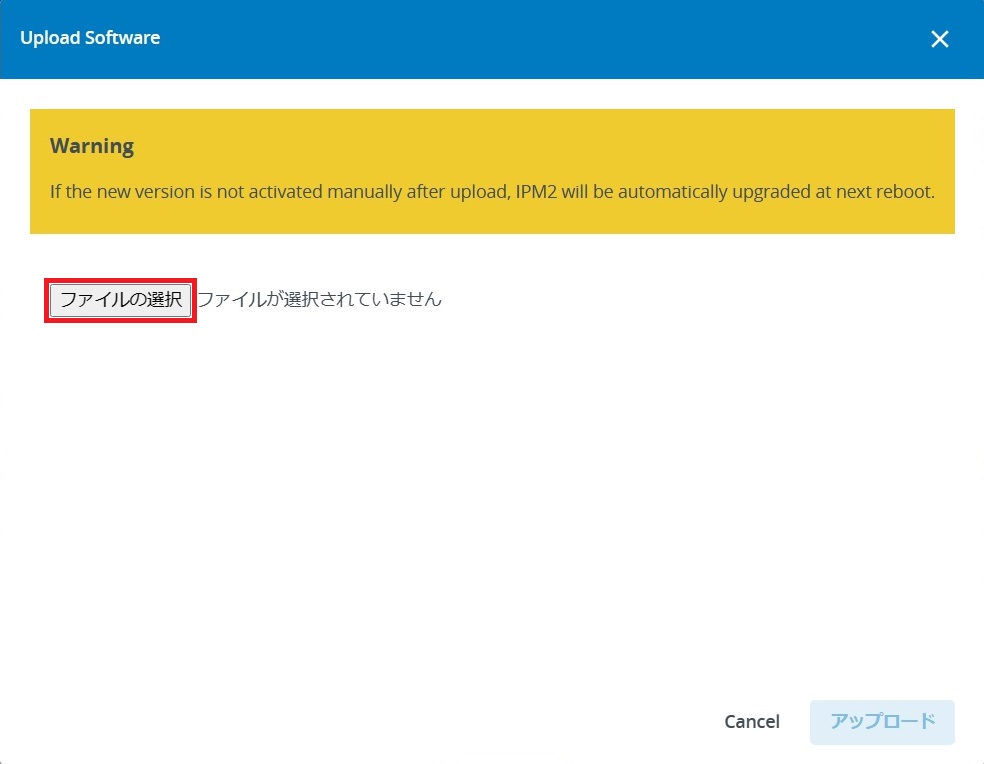
[ファイルの選択]を押して、ダウンロードしたtarファイルを選択します。
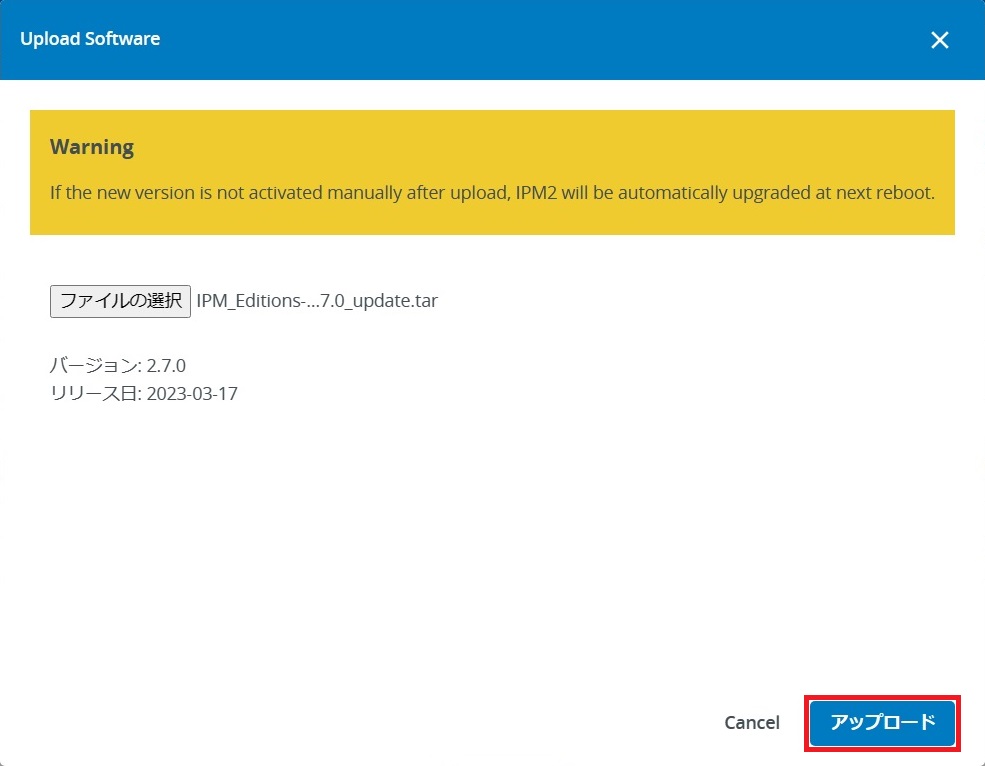
[アップロード]を押します。
IPM2へ転送が開始します。
※ブラウザでダウンロードした場合、ファイルが完全にダウンロードできておらず、エラーとなることがあります。その時は「Free Download Manager」を使用して再度IPM2をダウンロードしてください。

インポートが完了しました。
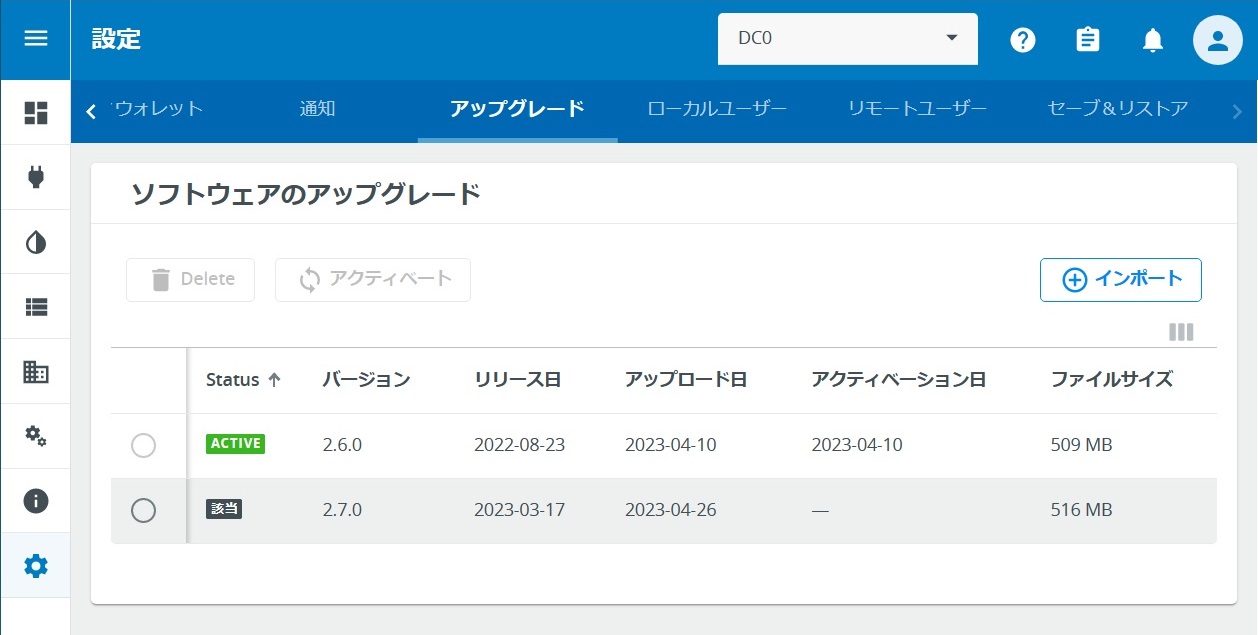
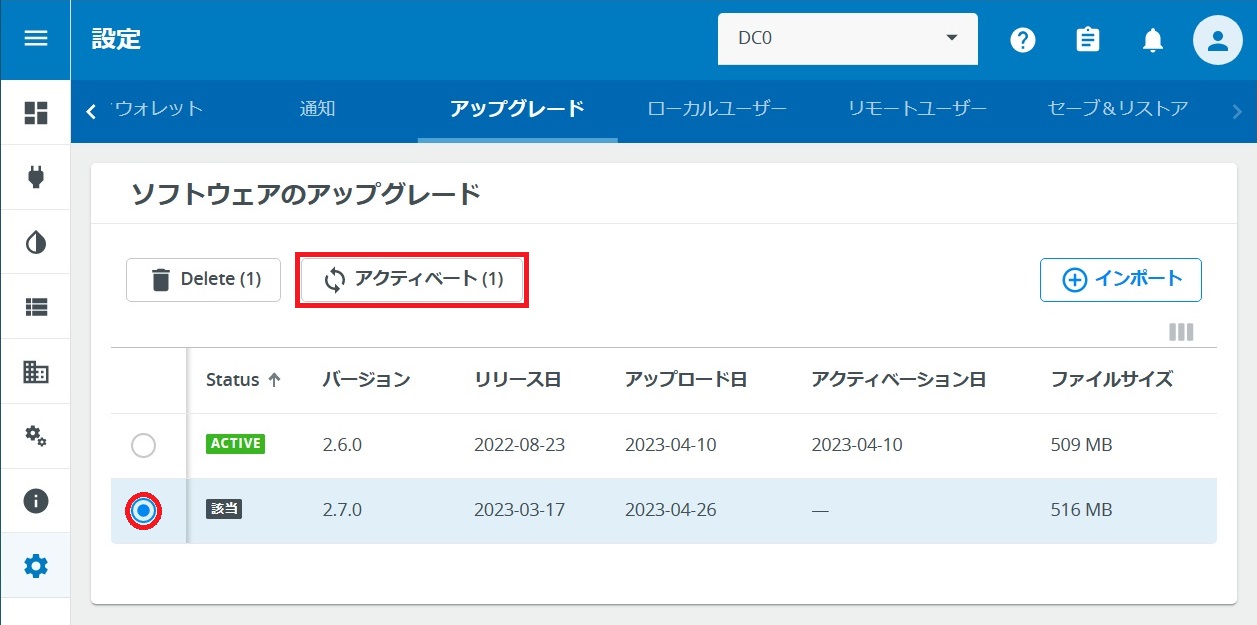
インポートしたバージョンをチェックして[アクティベート]を押します。
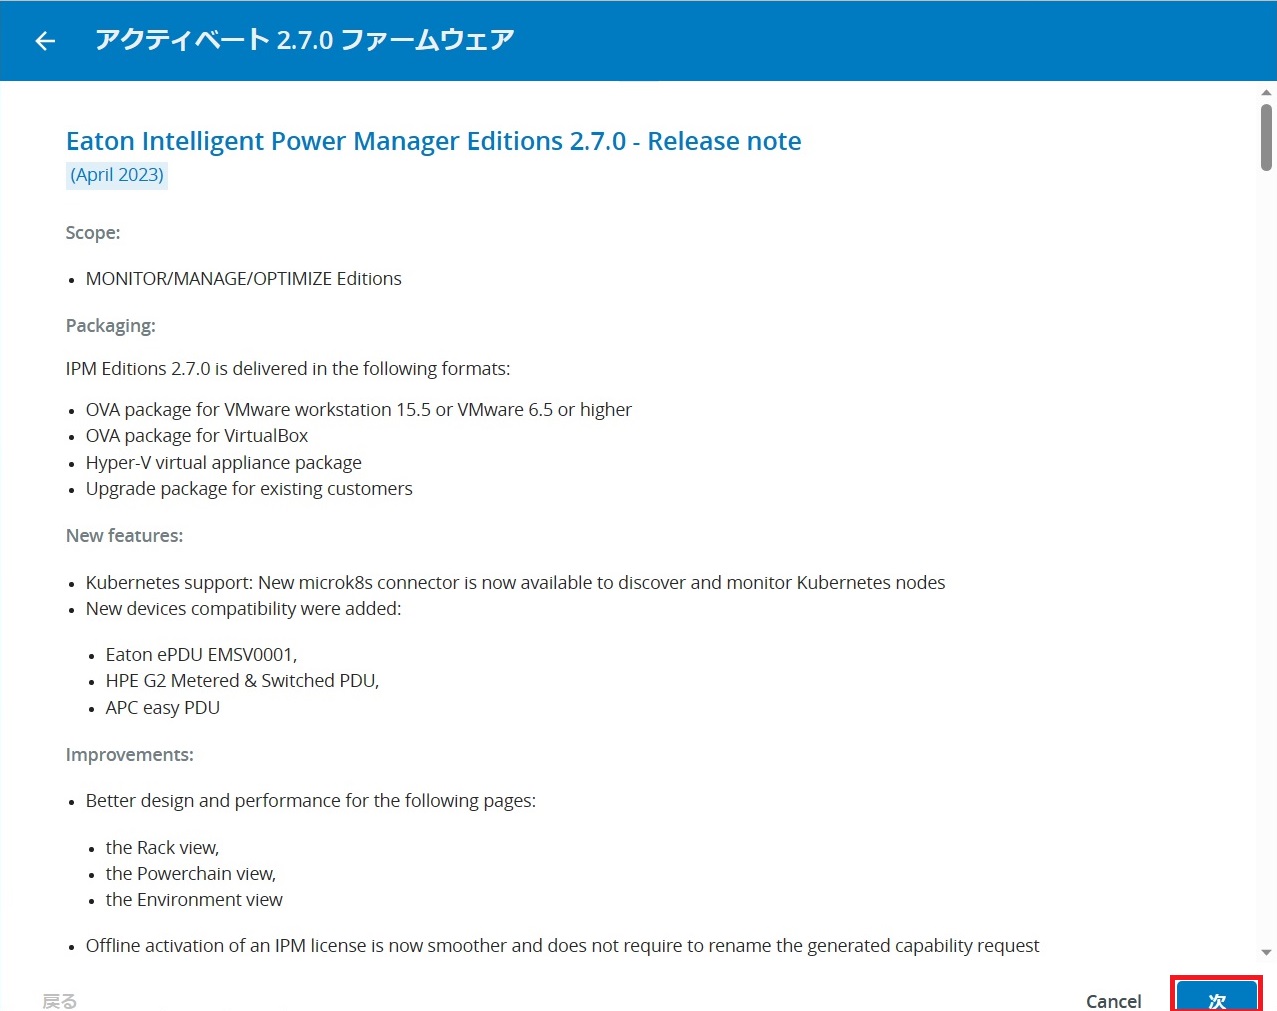
リリースノートを読んで[次]を押します。
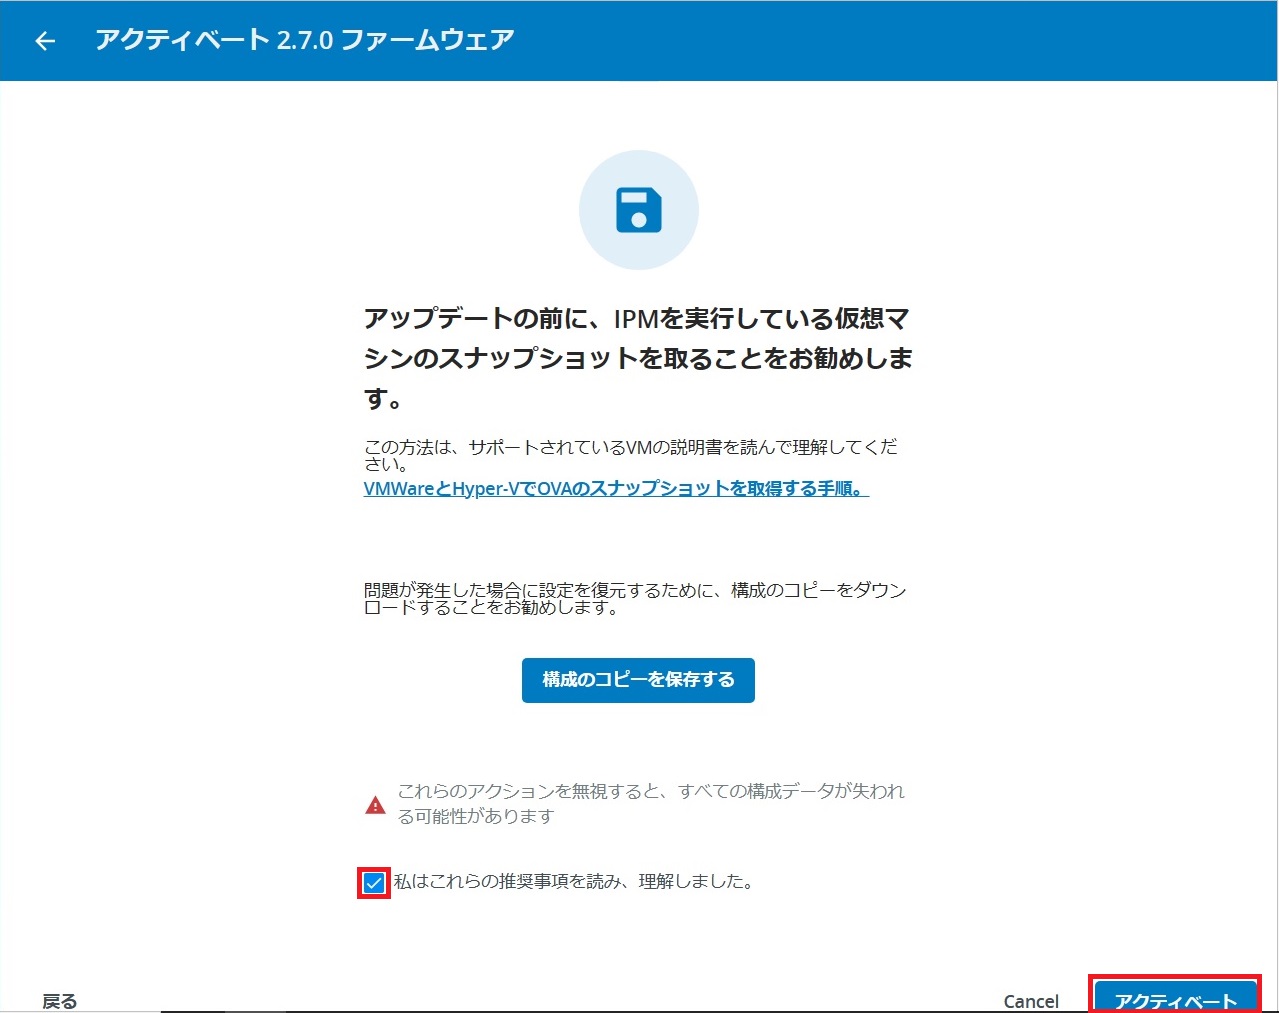
IPM2仮想マシンのスナップショットを取得しておくことを推奨されます。
「IPM2 OVAのスナップショット取得」と「IPM2 設定ファイルのセーブ(構成のコピーを保存する)」は、事前に済ませておいたため、[私はこれらの推奨事項を読み、理解しました。]にチェックを入れて[アクティベート]を押します。
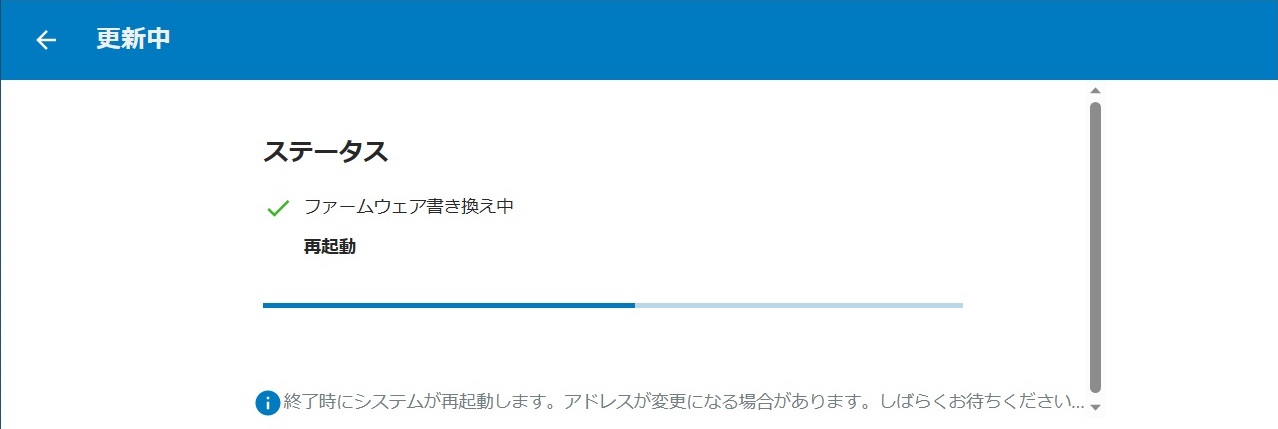
ファームウェアの書き換えが始まります。終了時にIPM2が再起動します。
再起動後にログインすると、新バージョンがアクティブになっています。
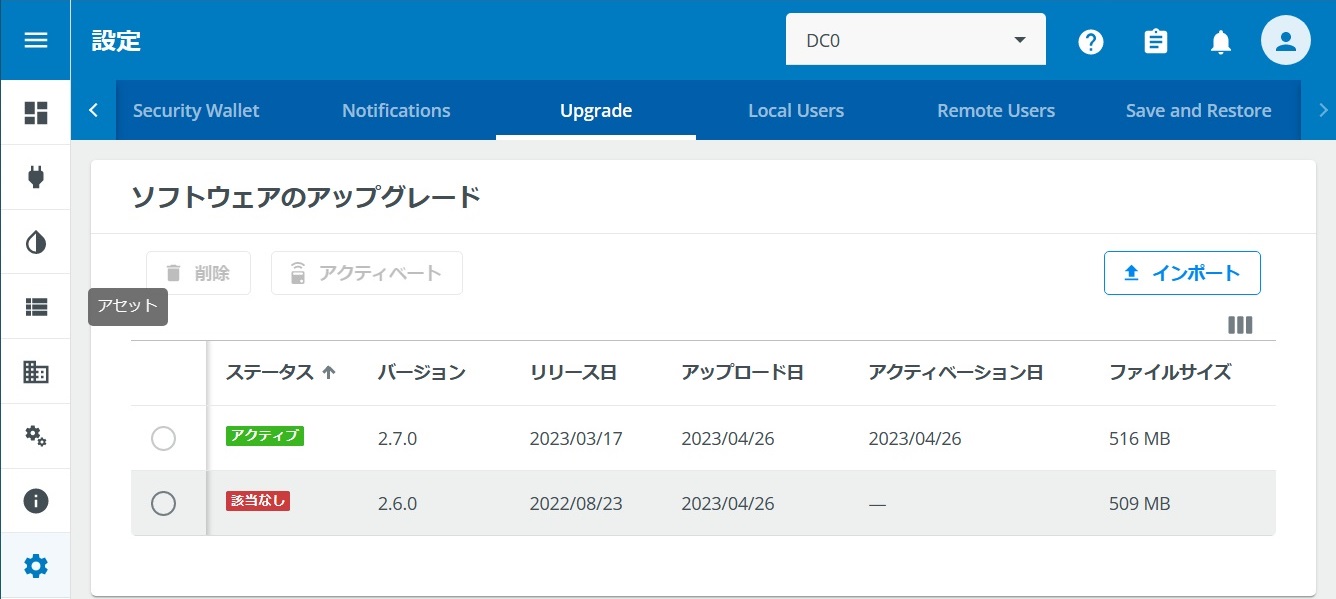
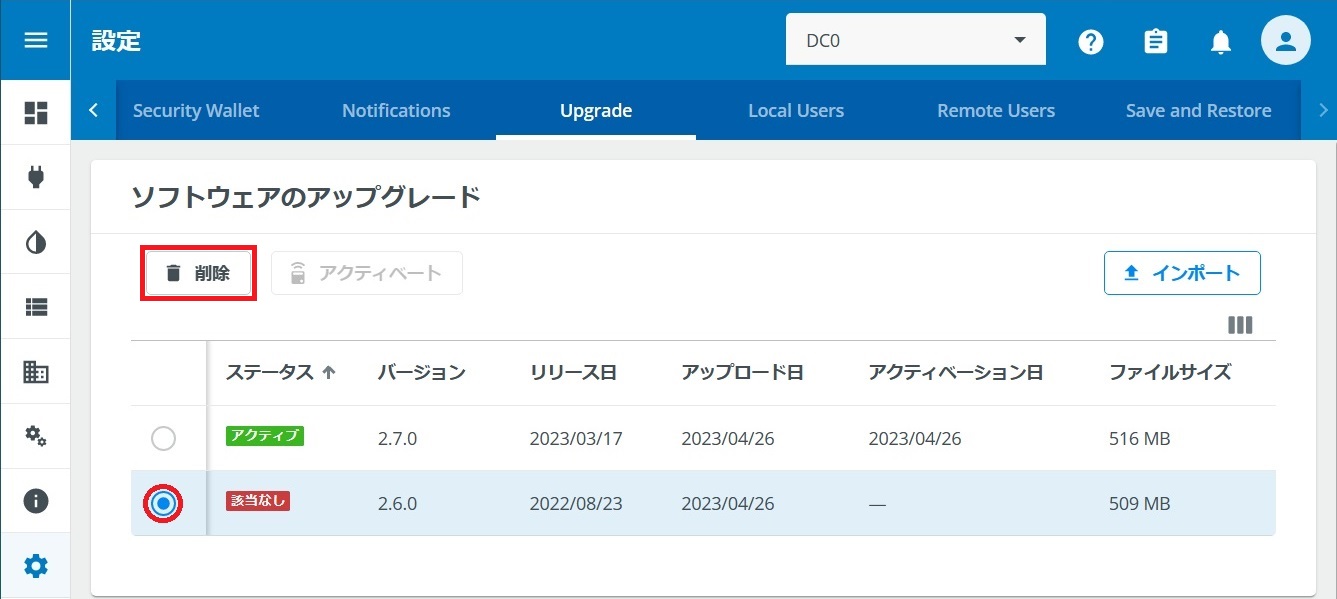
旧バージョンが不要ならチェックを入れて[削除]を押します。
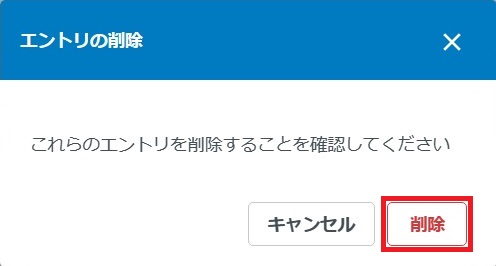
削除の確認は[削除]を押します。このあと、IPM2を再起動して初めてリストから消えます。
おわりに
TwitterとYouTubeでEaton UPSの情報を配信しております。よろしくお願い致します。
Twitter : https://twitter.com/eaton_daitron
YouTube : https://www.youtube.com/user/EatonDaito