IPM2はWindows Serverへ接続する際に、WinRM(Windows Remote Management)を利用します。
本記事では、Windows Server側でWinRMを有効化して、IPM2からWindows Serverへ接続するまでの手順を解説します。
ご参考(WinRMについて):WinRM を使用した PowerShell リモート処理のセキュリティに関する考慮事項 – PowerShell | Microsoft Learn
はじめに
IPM2の基本設定(IP設定、ライセンス適用、UPS検出など)は済んでいる前提で話が進みます。予めご了承ください。
WinRM(Windows Remote Management)の有効化
Windows Serverにログインし、コマンドプロンプトを管理者として実行します。
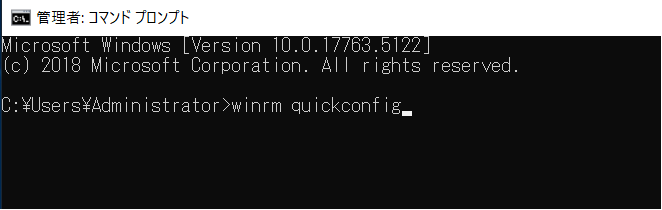
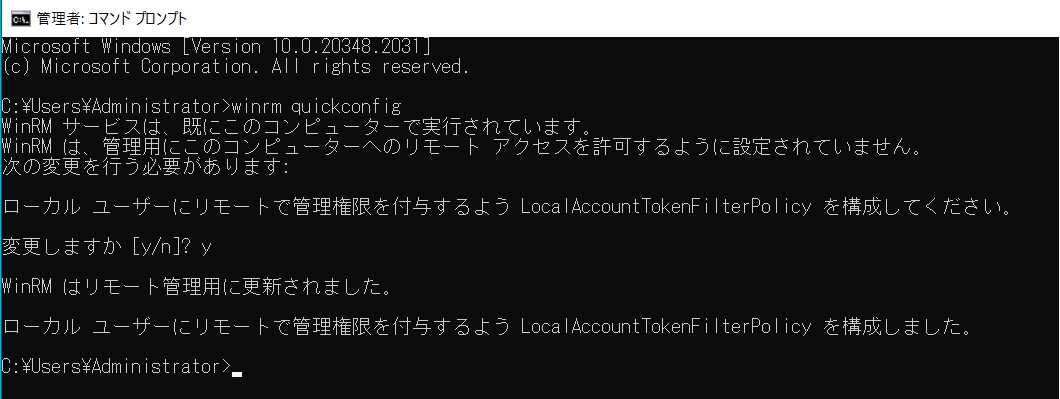
WinRMサービスを有効化します。「winrm quickconfig」コマンドを実行します。
ローカルユーザーにリモート管理権限を付与するか聞かれるので、「y」を入力し、Enterキーを押します。
PowerShellを管理者として実行します。
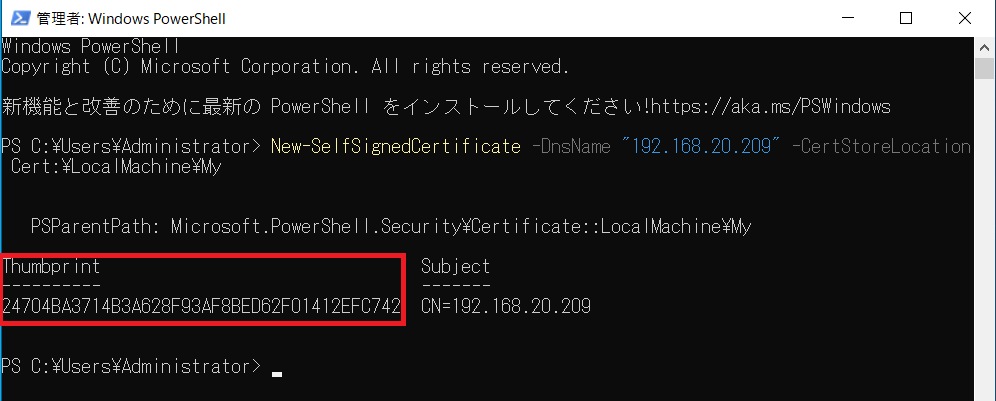
PowerShellで以下のコマンドを実行します。<YOUR_DNS_NAME>の値は、Windows Serverのホスト名などに変更します。
「New-SelfSignedCertificate -DnsName “<YOUR_DNS_NAME>” -CertStoreLocation Cert:\LocalMachine\My」
実行して表示される「Thumbprint」の値を控えます。
PowerShellにて、「winrm create winrm/config/Listener?Address=*+Transport=HTTPS ‘@{Hostname=”<YOUR_DNS_NAME>”; CertificateThumbprint=”<COPIED_THUMBPRINT>”}’」コマンドを実行します。<YOUR_DNS_NAME>の値は、Windows Serverのホスト名に変更し、<COPIED_THUMBPRINT>の値には、上の手順で控えたThumbprintの値を入力します。

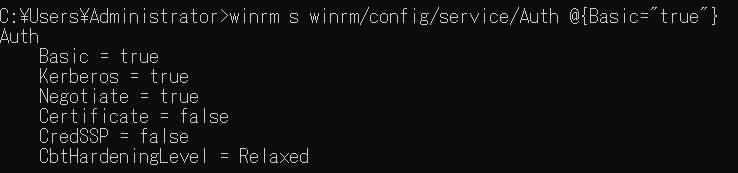
コマンドプロンプトにて以下のコマンドを実行し、Basic認証にて接続できるようにします。
「winrm s winrm/config/service/Auth @{Basic=”true”}」
ポート番号5986へのアクセスをWindowsファイアウォールにて許可する設定を行います。
PowerShellにて、「netsh advfirewall firewall add rule name=”Windows Remote Management (HTTPS-In)” dir=in action=allow protocol=TCP localport=5986」コマンドを実行します。本記事では、コマンドから設定していますがWindowsファイアウォールにて設定することも可能です。

以上で、IPM2からWindows ServerへWinRMを使用した接続が可能になりました。
IPM2からWindows Serverへのコネクタ接続
IPM2にログインし、「設定」-「コネクタ」画面に移動します。
「追加」-「仮想化」-「Microsoft Windows Server」を選択します。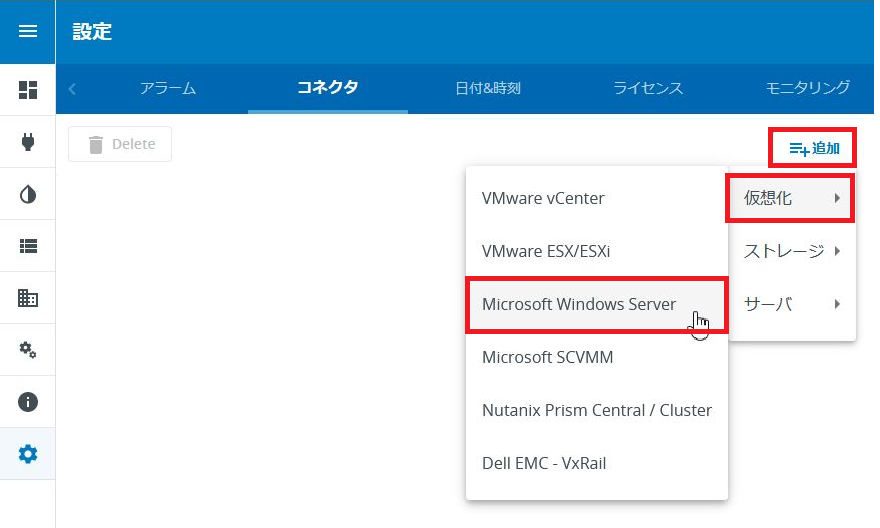
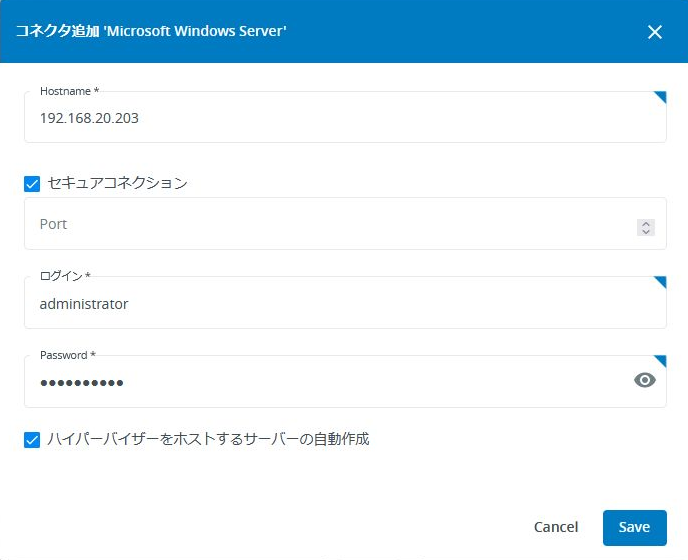
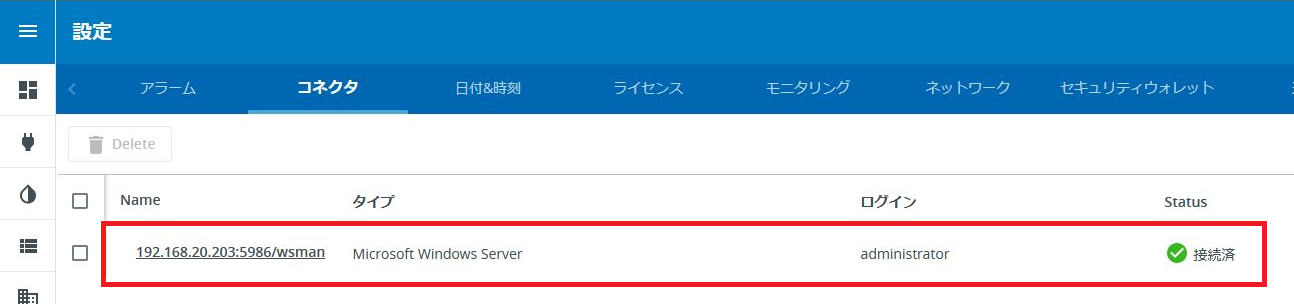
コネクタ追加のウィンドウが表示されるので、「Hostname」にWindows Serverのホスト名を入力し、「セキュアコネクション」と「ハイパーバイザをホストするサーバの自動作成」にチェックを入れます。ログインとパスワードはWindows Serverにログインする際のユーザ情報を入力して、「Save」をクリックします。
Windows Serverのコネクタが追加されました。
「アセット」-「バーチャルアセット」を選択して、Windows ServerのHyper-V上で稼働している仮想マシンが表示されていることを確認します。
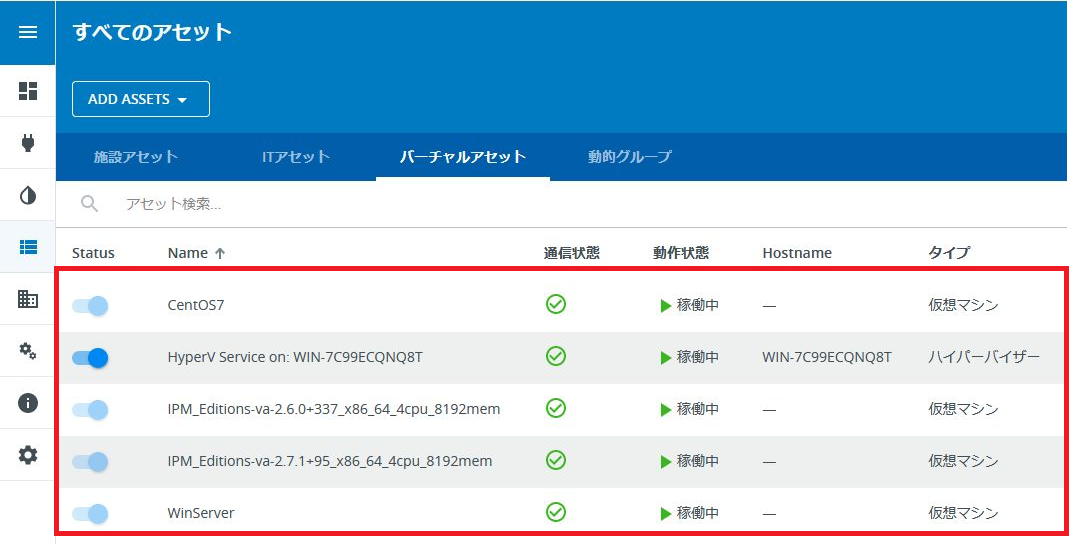
本検証環境でHyper-V上で動作しているゲストマシンは、以下の通りです。

以上で、IPM2からWindows Serverへのコネクタ接続が完了しました。
おわりに
X(旧Twitter)とYouTubeでEaton UPSの情報を配信しております。よろしくお願い致します。
X(旧Twitter) : https://twitter.com/eaton_daitron
YouTube : https://www.youtube.com/user/EatonDaito