USBメモリでWindowsが起動するところまで確認したので、私が行った方法を紹介します。
ディスクにWindowsをインストールためのUSBメモリ作成方法は、検索するとたくさん出てきます。
しかしながら、USBメモリにWindowsをインストールする方法は、あまり見つかりませんでした。ニーズが少ないのかもしれません。
事前準備
・WindowsがインストールされたPC
・USBメモリ 64GB (USB 3.0推奨)
・Windows ISOファイル
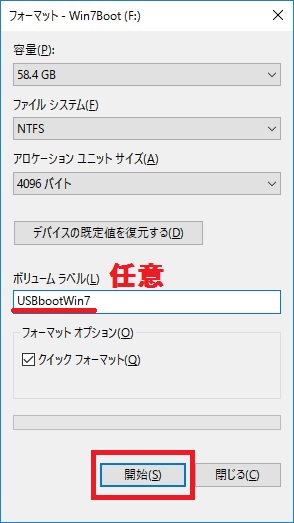
USBメモリをフォーマットする
ボリュームラベルに任意の名前を入力して開始します。
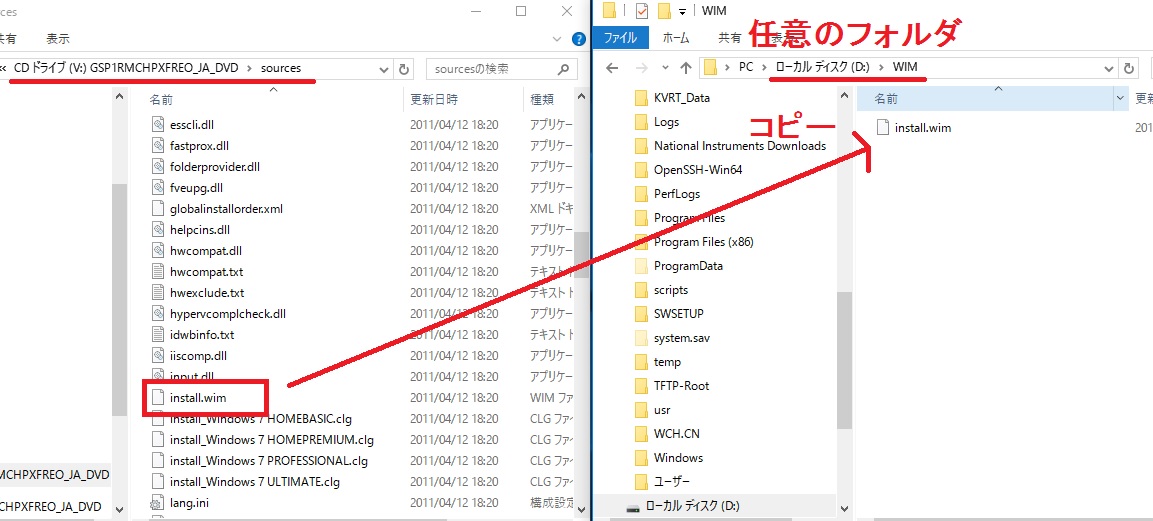
install.wimをコピーする
Windows ISOファイルをマウントします。
メディアのsourcesフォルダ内にあるinstall.wimファイルをローカルディスクの任意の場所(D:\WIM\)にコピーします。
Rufusをダウンロードして実行する
Rufus公式サイトにアクセスします。 https://rufus.akeo.ie/

最新版をダウンロードします。
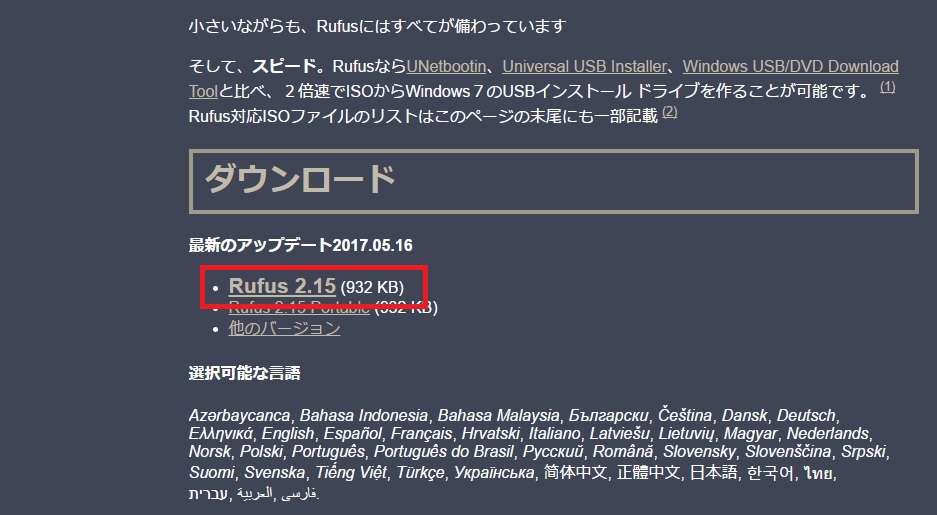
ダウンロードしたexeを実行します。
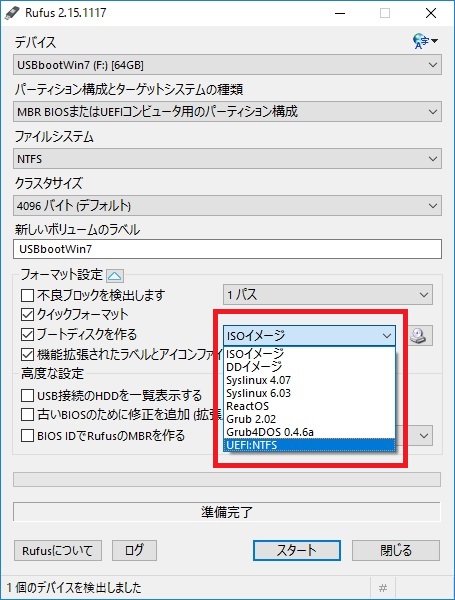
フォーマット設定の右のプルダウンをクリックします。
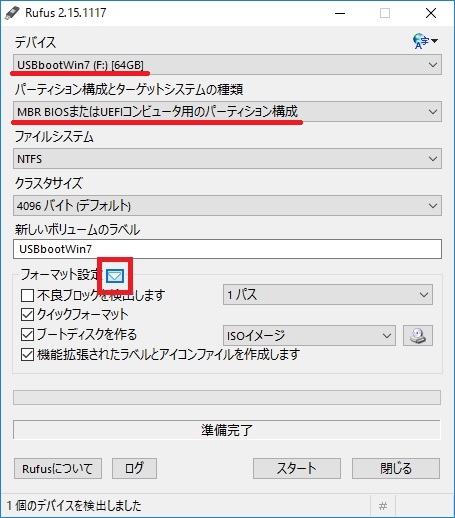
ISOイメージをUEFI:NTFSに変更します。
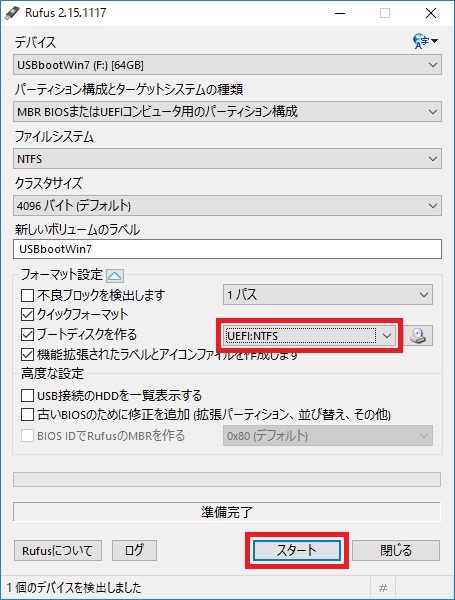
UEFI:NTFSになった事を確認して[スタート]をクリックします。
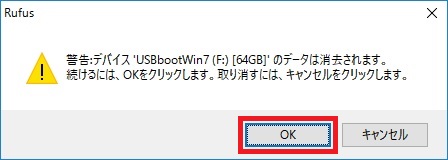
メモリデータの消去は[OK]をクリックします。
実行中画面です。
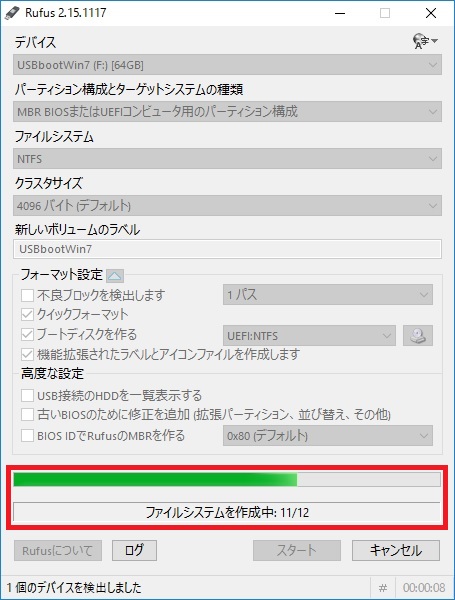
準備完了と出たら完了です。[閉じる]をクリックします。

WinNTSetupをダウンロードする
winntsetupをGoogle検索して、下記画面のサイトにアクセスします。
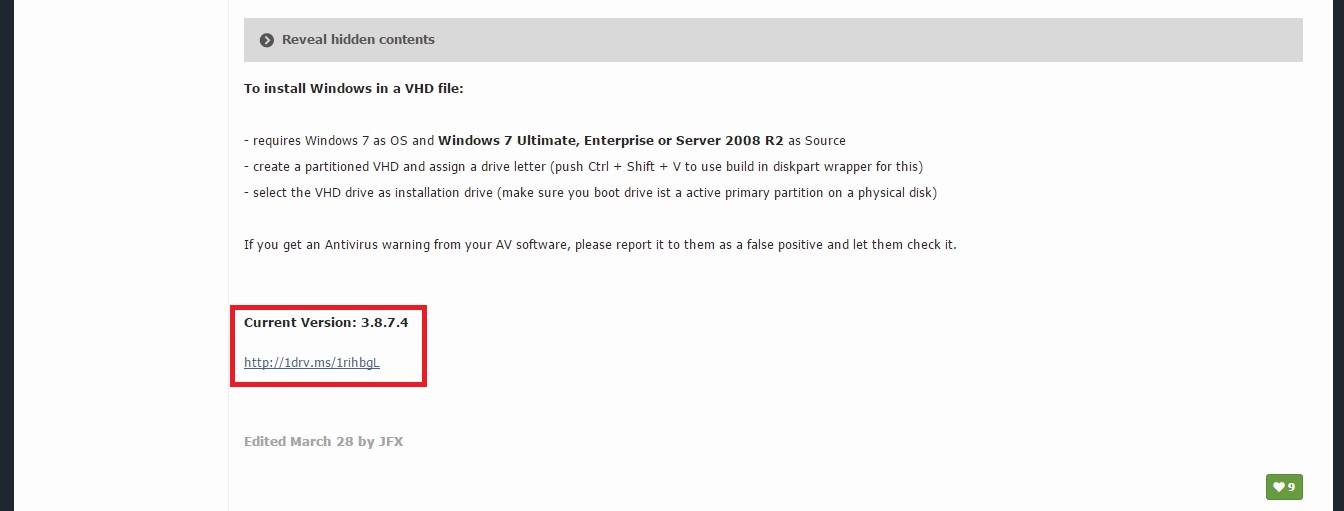
最新版のWinNTSetupをダウンロードします。
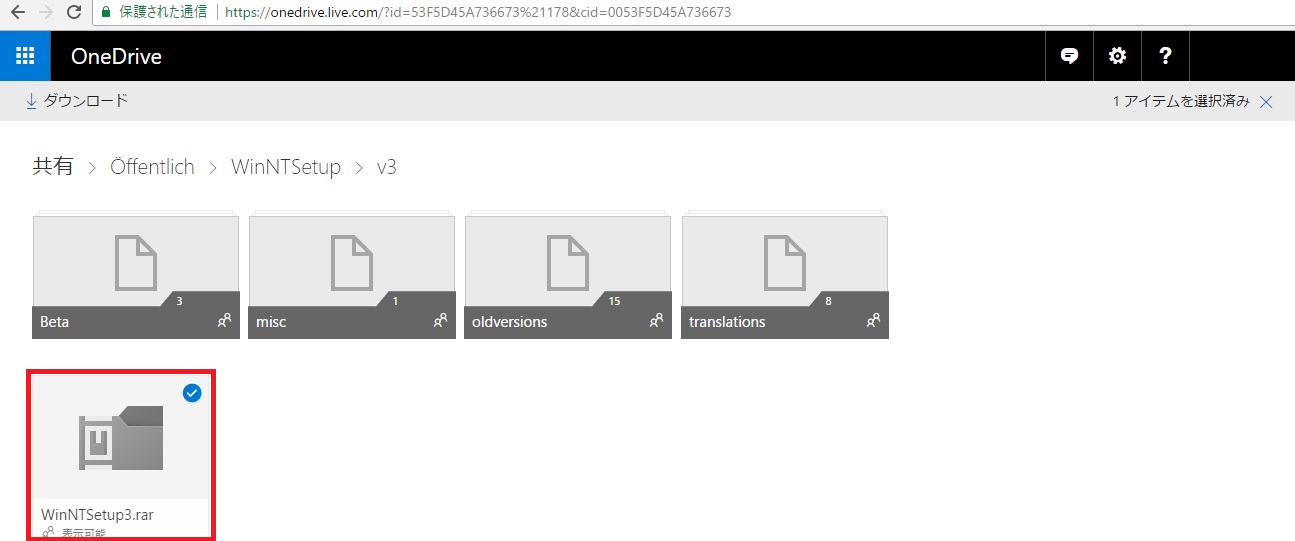
One Driveからファイルをダウンロードします。
WinNTSetupを実行する
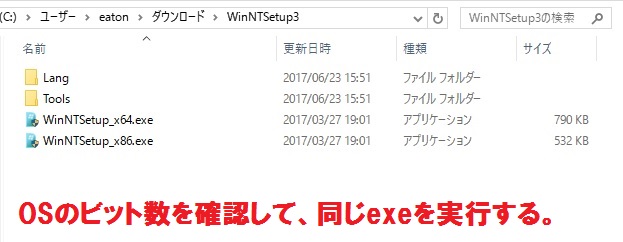
ダウンロードしたrarファイルを解凍します。
OSのビット数と同じほうのexeファイルを実行します。
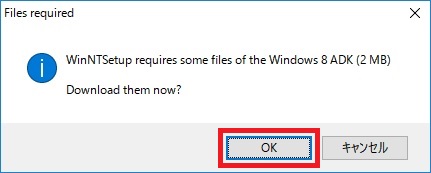
WinNTSetupを実行するためにファイルのダウンロードを求められる事があります。
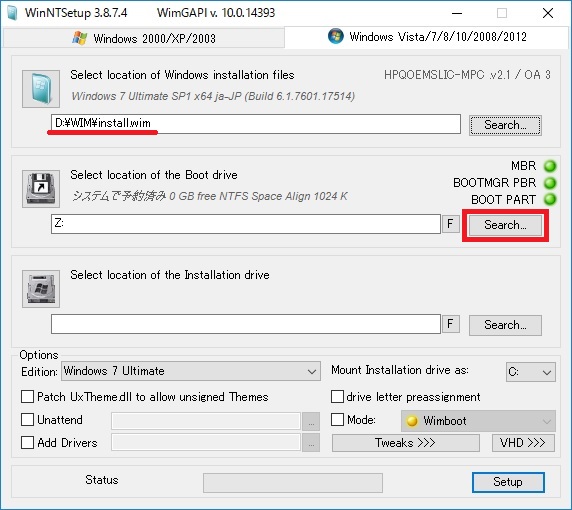
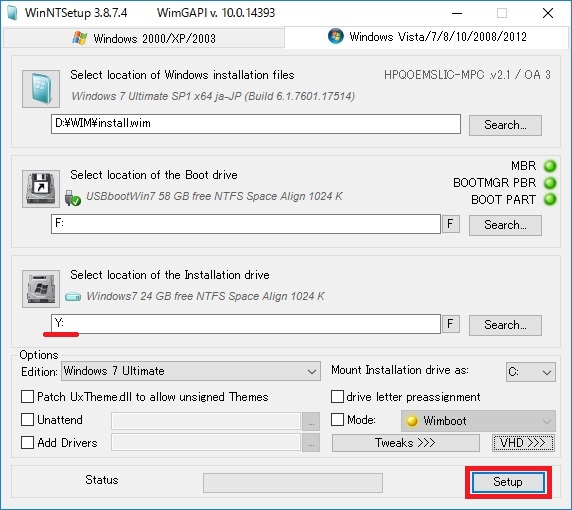
WinNTSetupを起動した画面です。
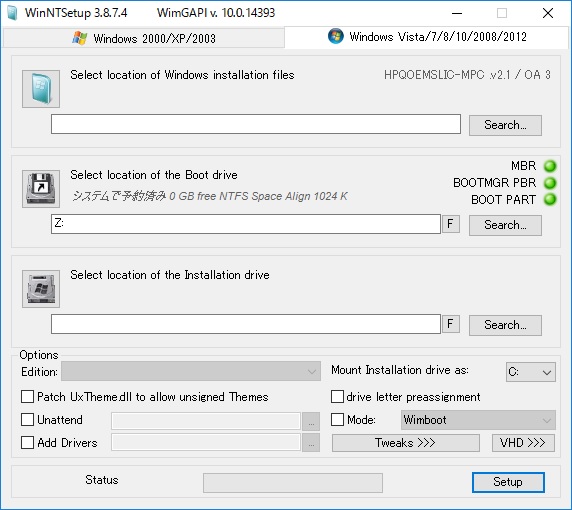
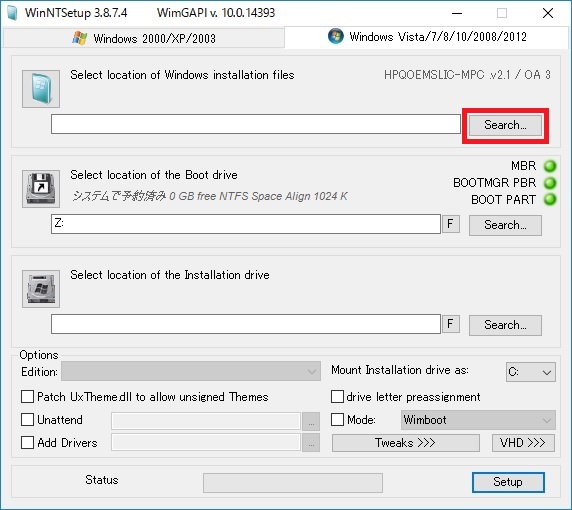
Windows インストールファイルがある場所を選択します。
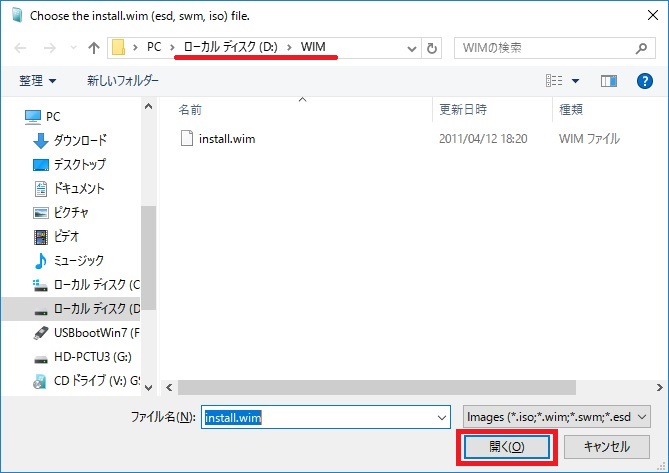
ローカルディスク内のinstall.wimを選択して[開く]をクリックします。
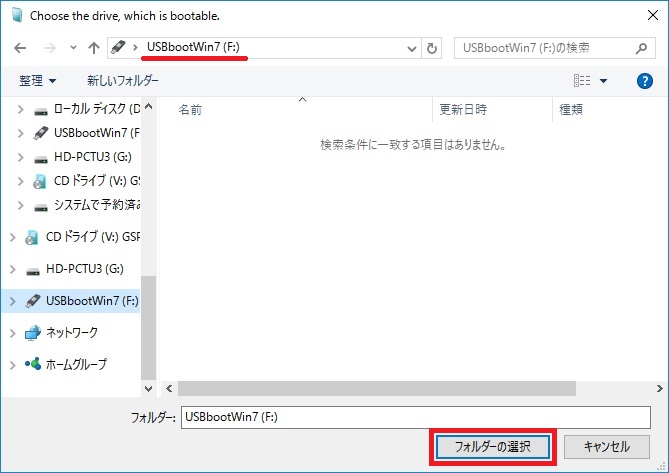
起動ドライブを選択します。
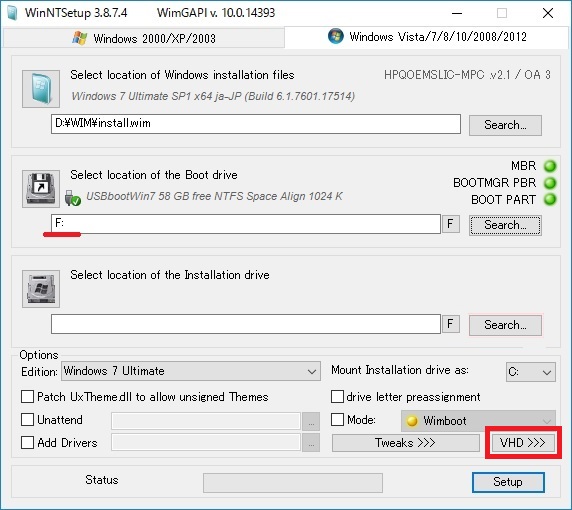
USBメモリを選択して[フォルダーの選択]をクリックします。
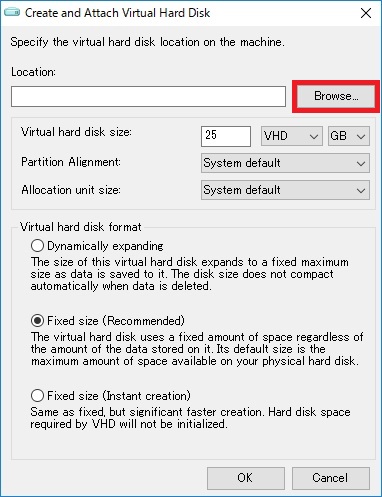
[VHD >>>]をクリックします。
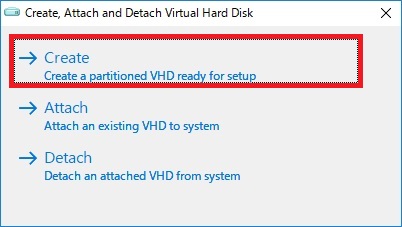
Createをクリックします。
Browseをクリックします。
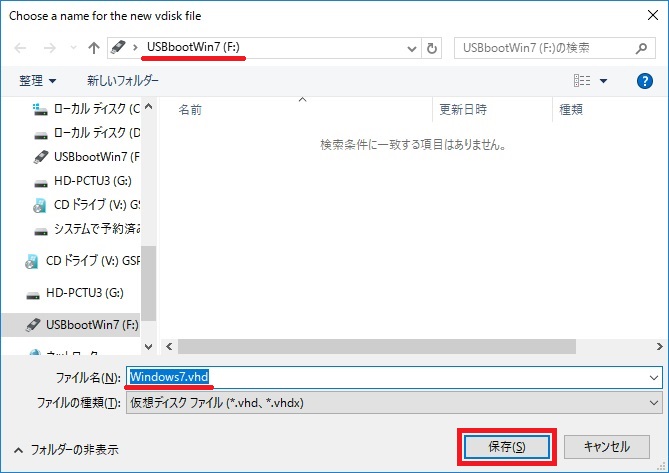
USBメモリ内のvhdを選択して保存します。
Virtual hard disk formatは、Dynamically expandingを選択します。
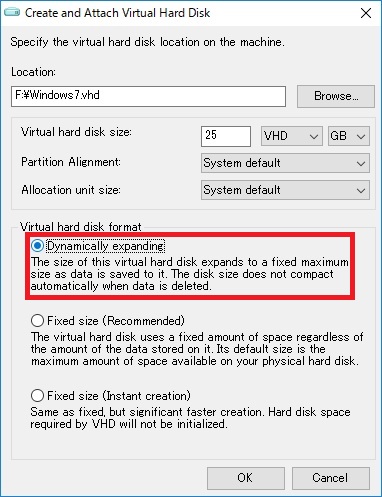
OKをクリックします。

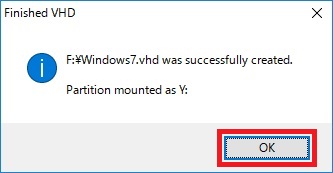
VHD完成ウィンドウはOKをクリックします。
Setupをクリックします。
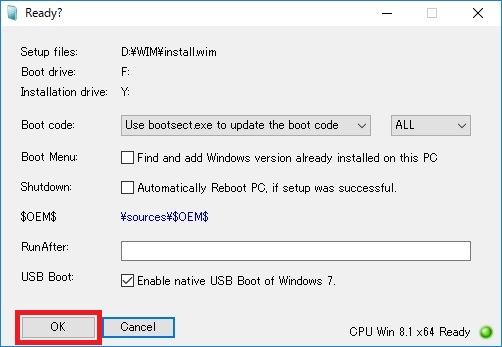
そのままOKをクリックします。
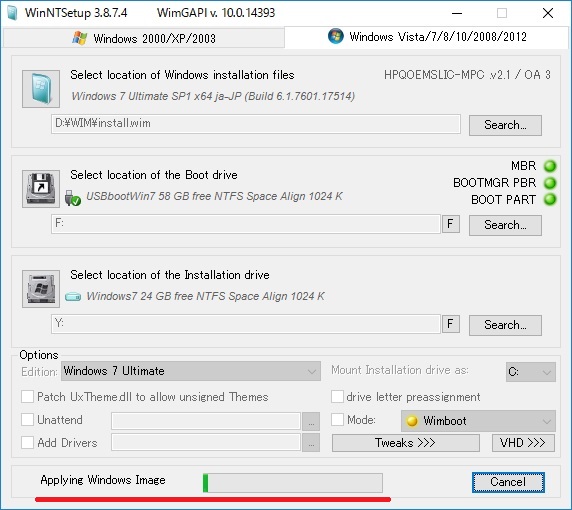
実行中画面です。しばらく時間がかかります。
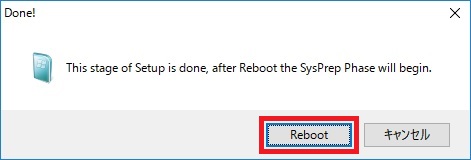
完了したらRebootをクリックしてPCを再起動します。
USBメモリで起動する
PCのBIOSに入って、起動順序を変更します。
ローカルディスクより先にUSBメモリで起動するように設定します。
あとはWindowsのインストールになるので割愛させて頂きます。
以上、村田@ダイトロンがお届けしました。