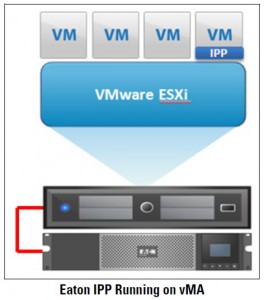
VMware ESXiがシングル構成の時は、[VMware vSphere Management Assistant (vMA)にIPPをインストール]もしくは[Windows ServerにIPMをインストール]します。VMwareの機能「仮想マシンの自動起動および停止」を使用して、仮想マシンを制御する設定をしておきます。IPP/IPMはESXiに対してシャットダウン命令を投げます。これら設定により、ESXiと仮想マシンは正常にシャットダウンします。
このページでは、[VMware vSphere Management Assistant (vMA)にIPPをインストールする手順]を解説します。 [Windows ServerにIPMをインストールする手順]は最下部のリンクを参照願います。
VMware vSphere Management Assistant (vMA)のデプロイと、仮想マシンの自動起動および停止については、VMwareの手順になるため一部を割愛させて頂きます。ご了承のほどよろしくお願い致します。
はじめに
IPPは、vMA 6.5 & ESXi 6.5までの対応とります。vMA 6.5 & ESXi 6.7以上には対応しておりません。
構成
VMware ESXi 1台
VMware vSphere Management Assistant (vMA) 有り
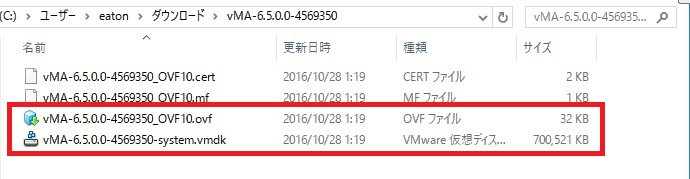
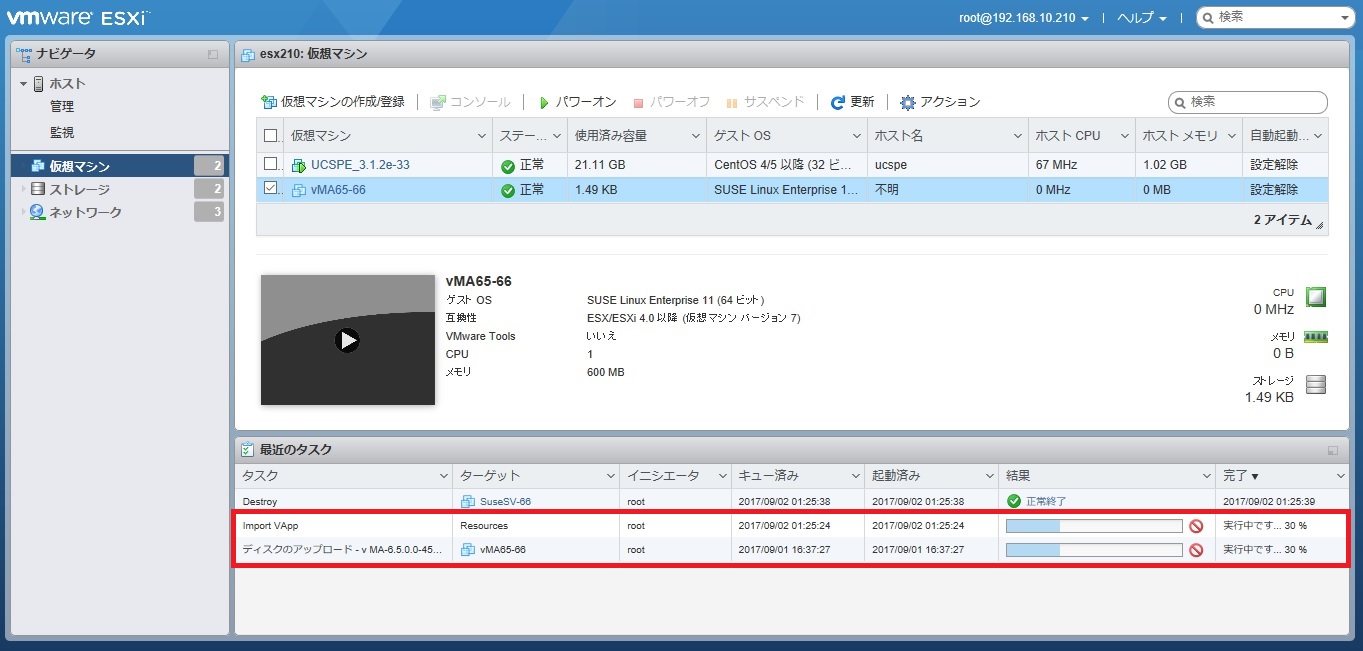
vMA デプロイ
VWware社からvMAをダウンロードします。ovfとvmdkファイルでデプロイします。(手順省略)
仮想マシンの自動起動と停止
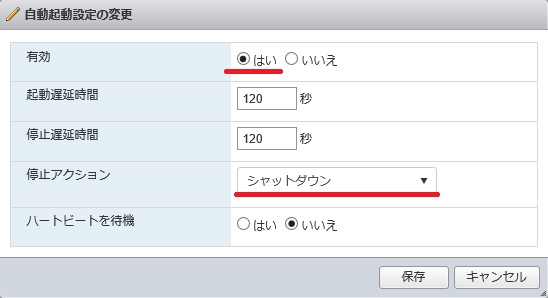
ホスト > 管理 > 自動起動 > 設定の編集 をクリックします。
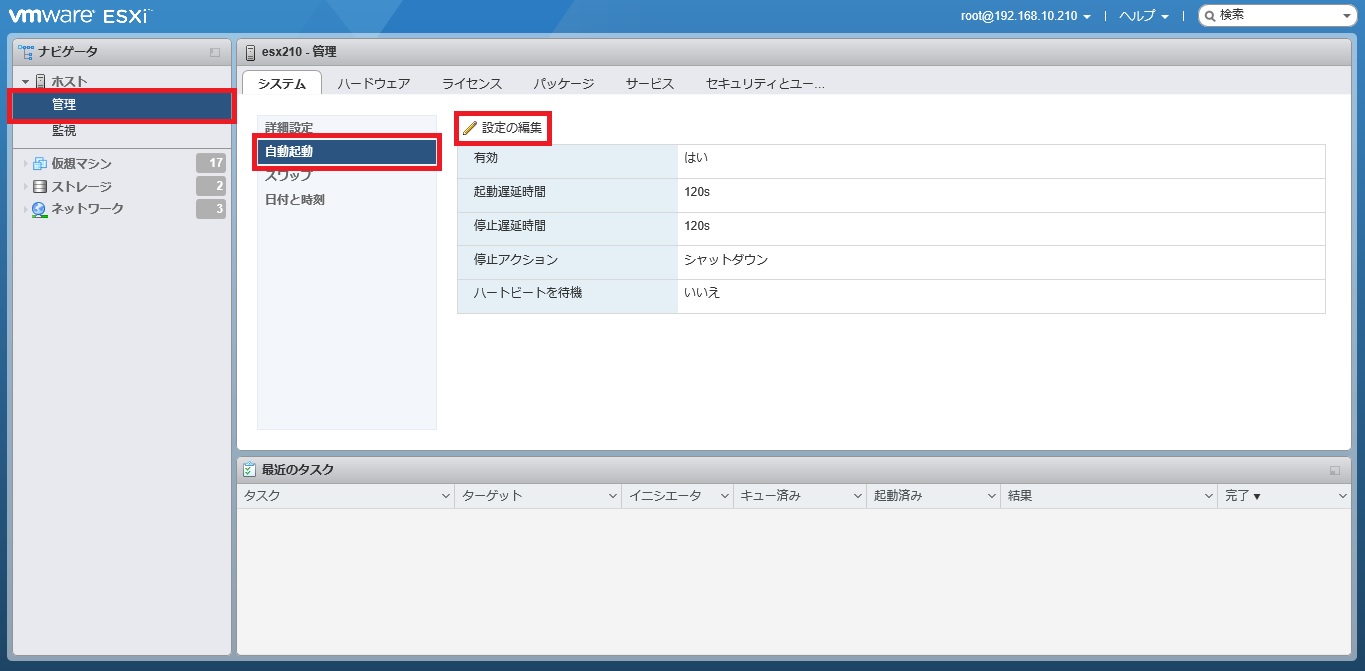
有効=はい、停止アクション=シャットダウン。その他項目は任意で設定します。
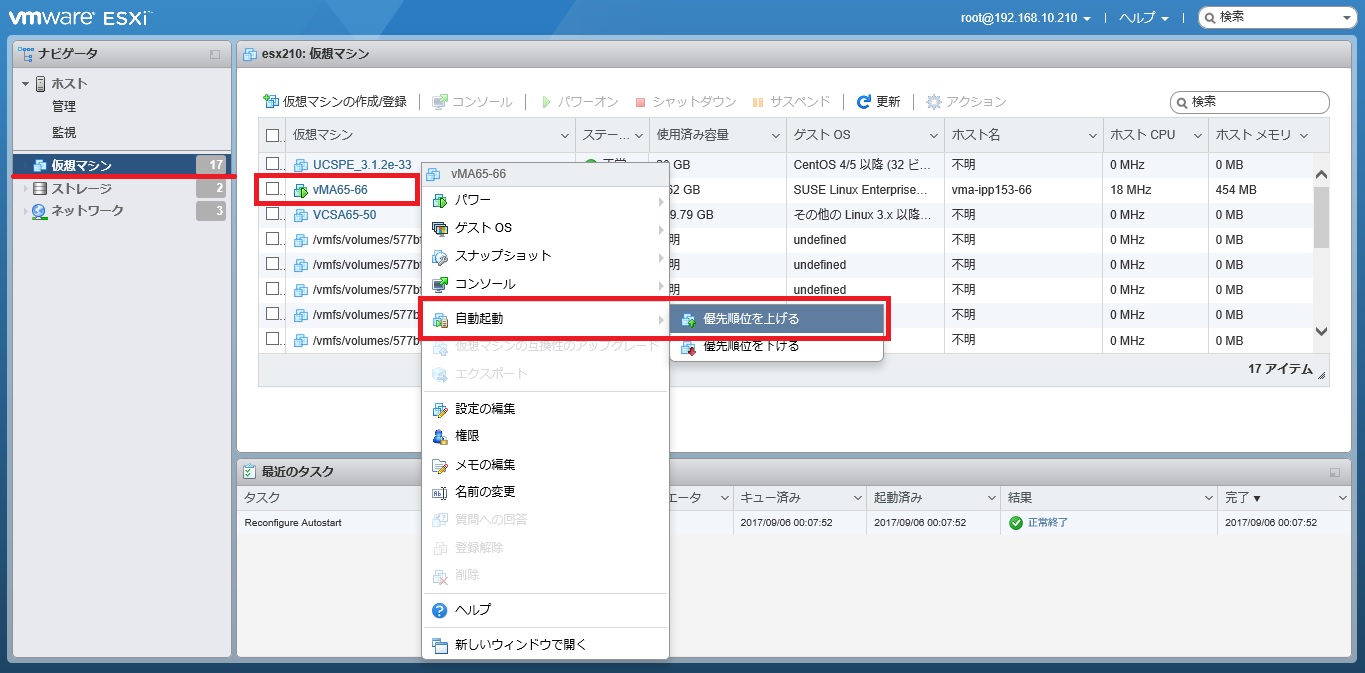
設定したい仮想マシンを右クリック。自動起動の優先順位を上げます。
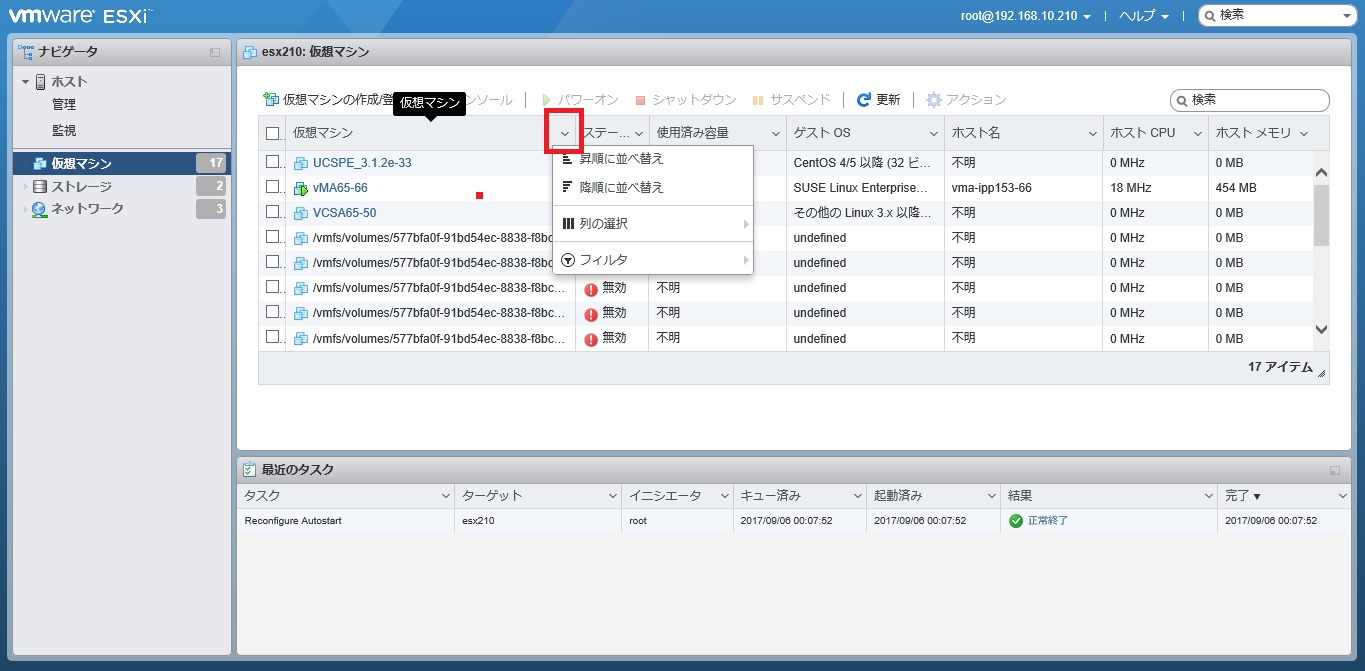
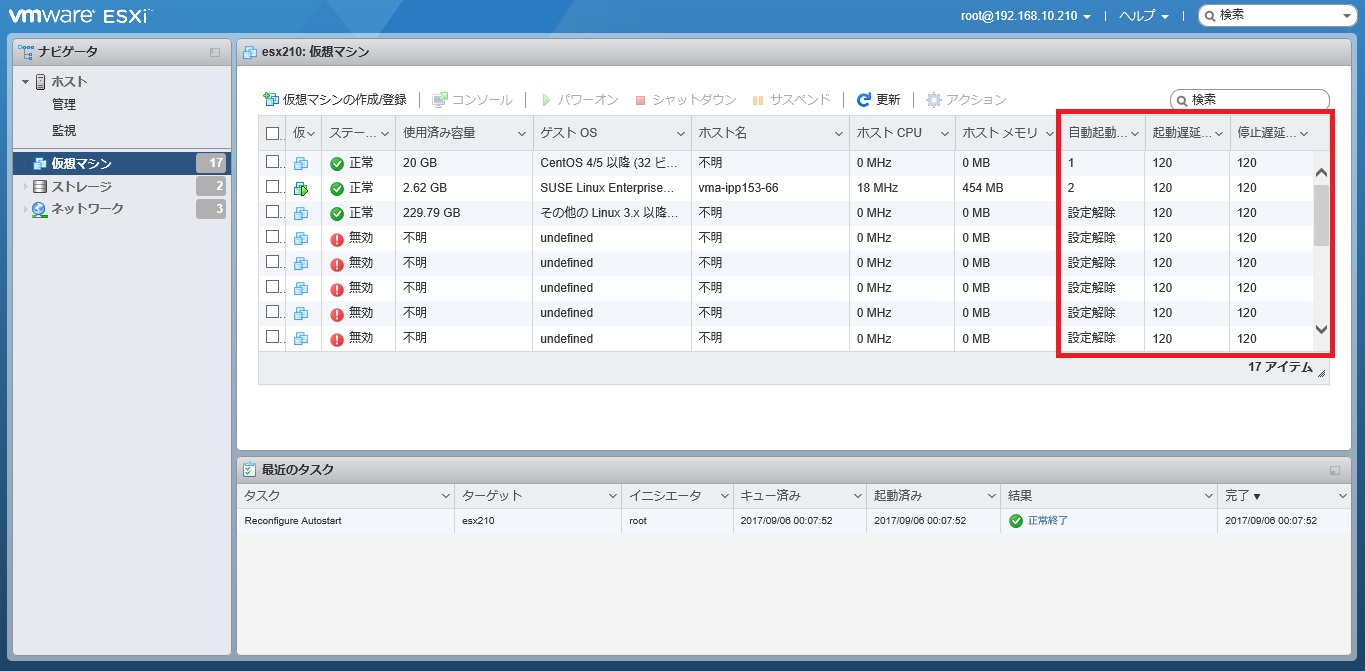
設定を一覧で表示するために、列の選択を行います。
自動起動の順序、起動遅延時間、停止遅延時間にチェックを入れます。
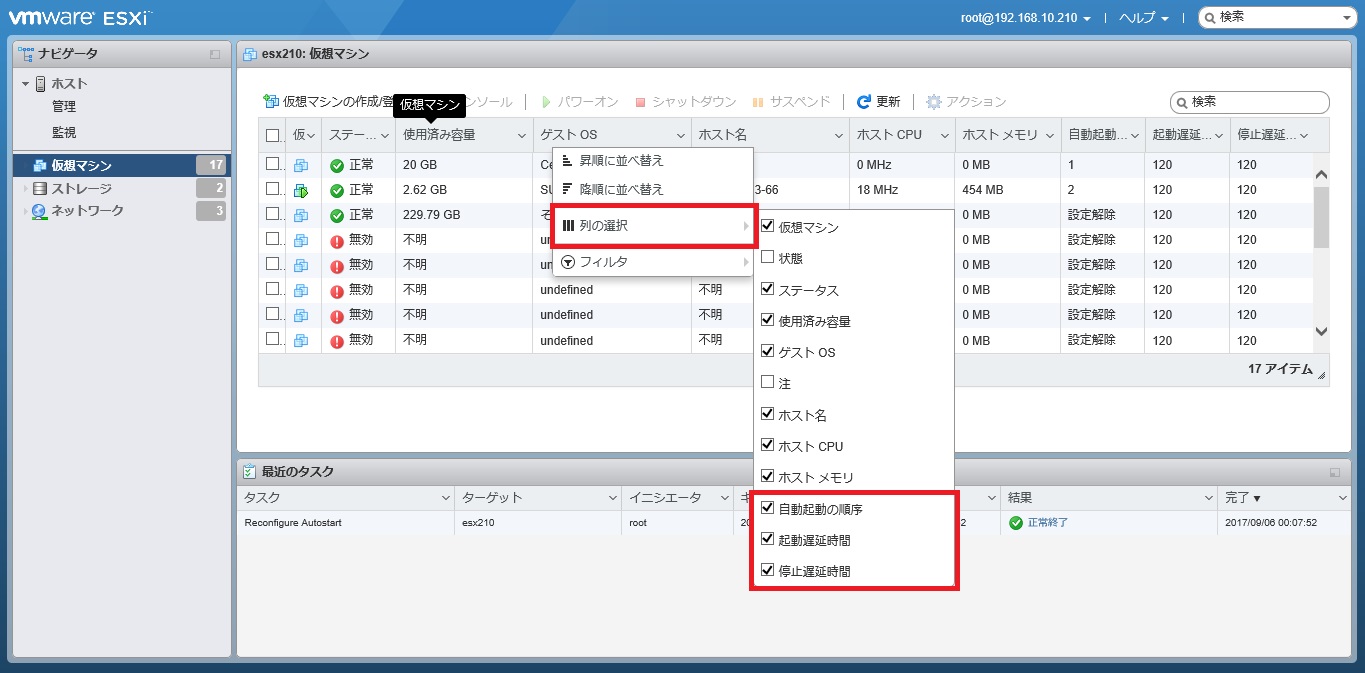
自動起動する/しない、起動する場合の順序が確認できるようになりました。
vMA 初期設定
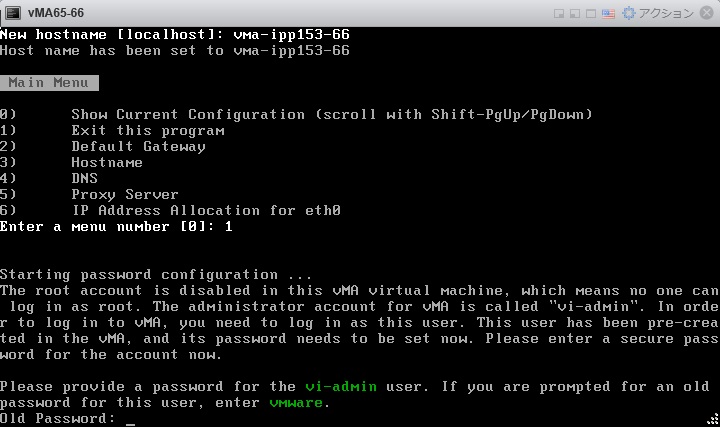
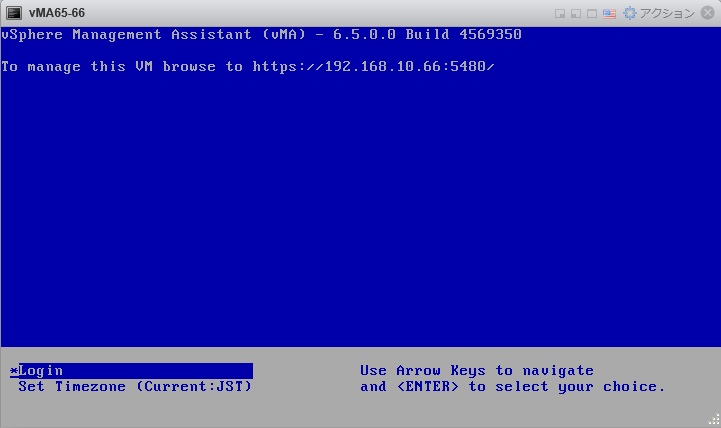
vMAを起動してホスト名とネットワーク設定を行います。

vMAのデフォルトユーザーは、vi-admin。デフォルトパスワードは、vmware。パスワードは必ず変更しましょう。
アカウント vi-admin、変更したパスワードでログインできる事を確認します。
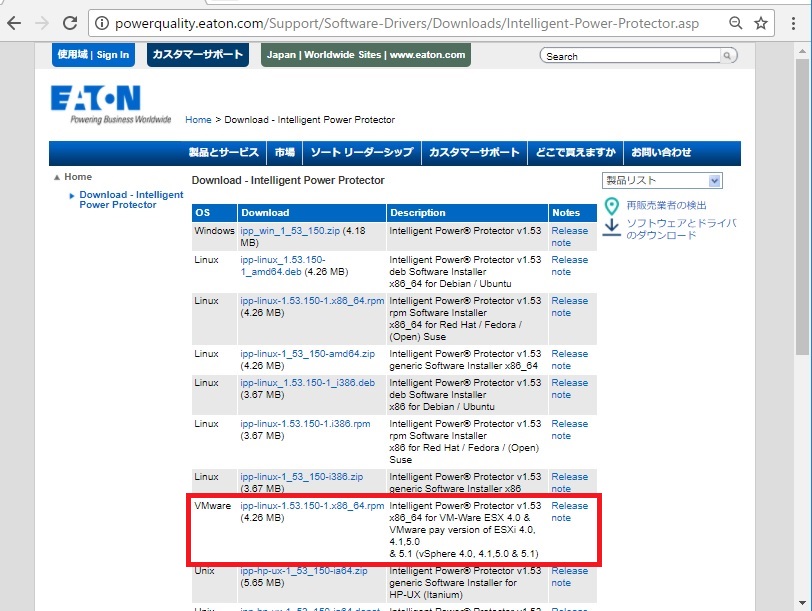
vMA用IPPをダウンロードする
Intelligent Power ProtectorはEaton社Webから、VMware用のIPPをダウンロードして下さい。
http://powerquality.eaton.com/Products-services/Power-Management/Software-Drivers/Intelligent-PP.asp
*ダウンロード手順が分からない場合は、こちらのテクニカルブログを参照願います。
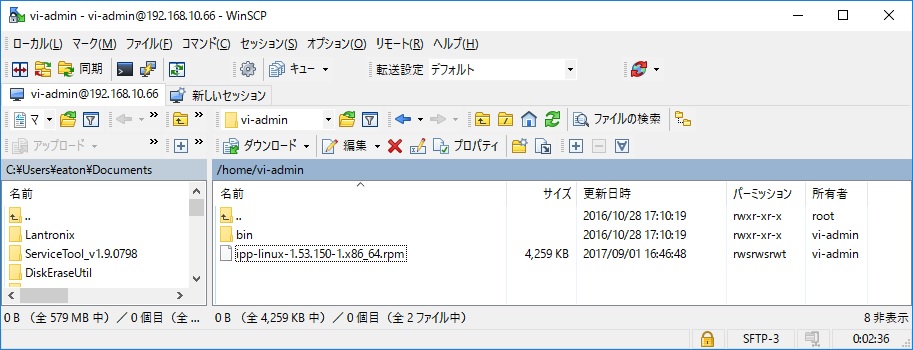
vMAにIPPをアップロードする
WinSCP等を使用して、/home/vi-admin にファイルをアップロードします。
vMAにIPPをインストールする
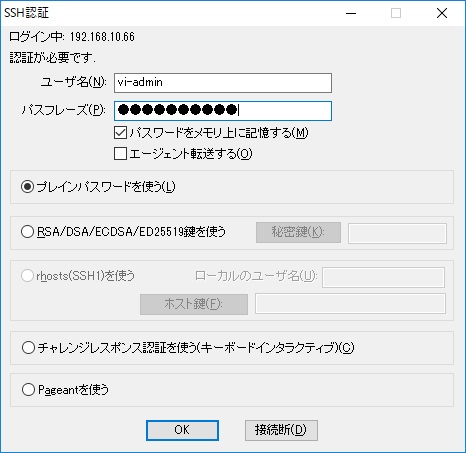
TeraTerm等でvMAにログインします。
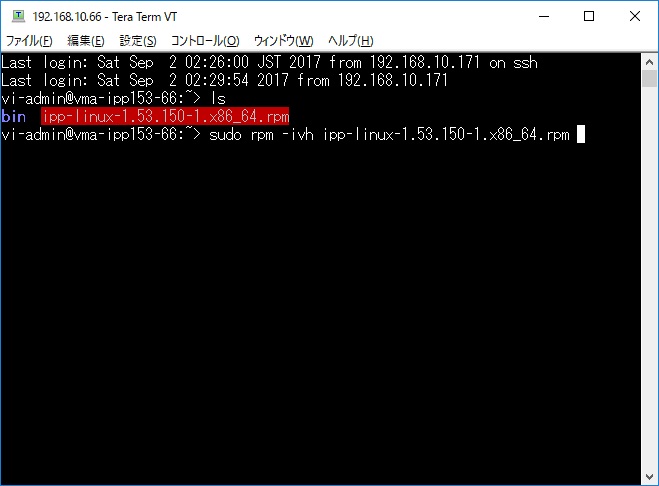
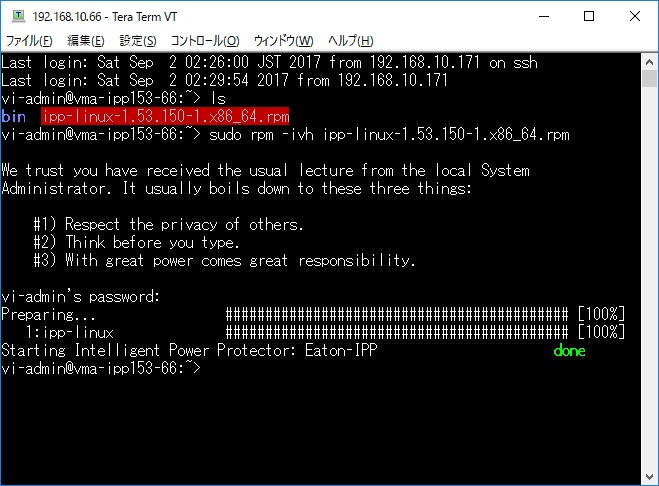
ダウンロードしたrpmファイルをインストールします。
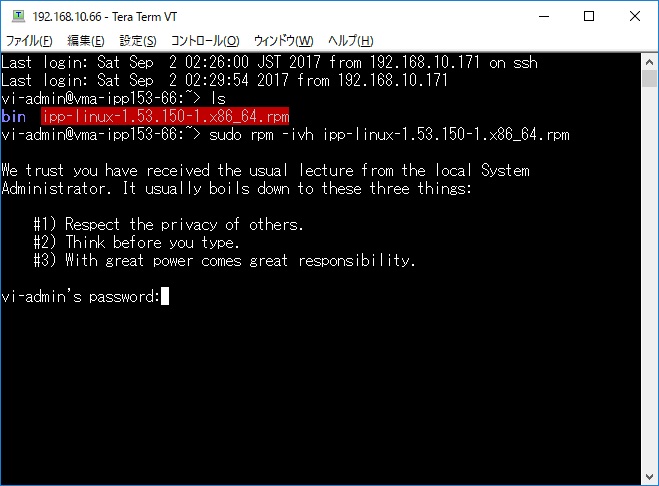
sudo rpm -ivh ipp-linux-1.53.150-1.x86_64.rpm
vi-adminのパスワードを入力します。
インストールが完了しました。IPPサービスは自動開始します。
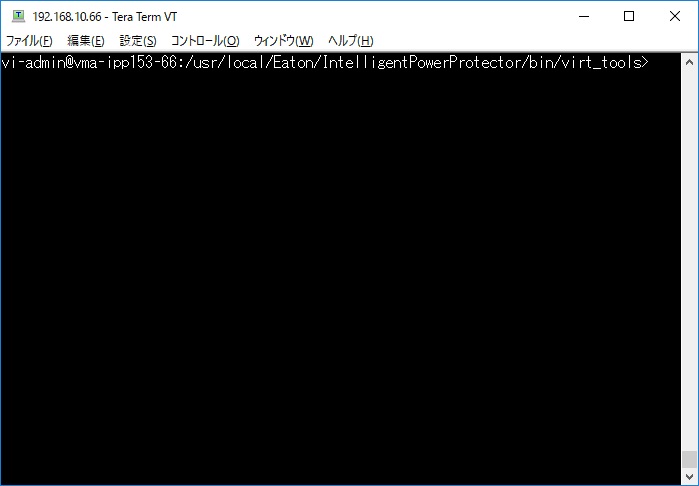
shutdownESXi.plファイルが置いてあるディレクトリに移動します。
cd /usr/local/Eaton/IntelligentPowerProtector/bin/virt_tools/
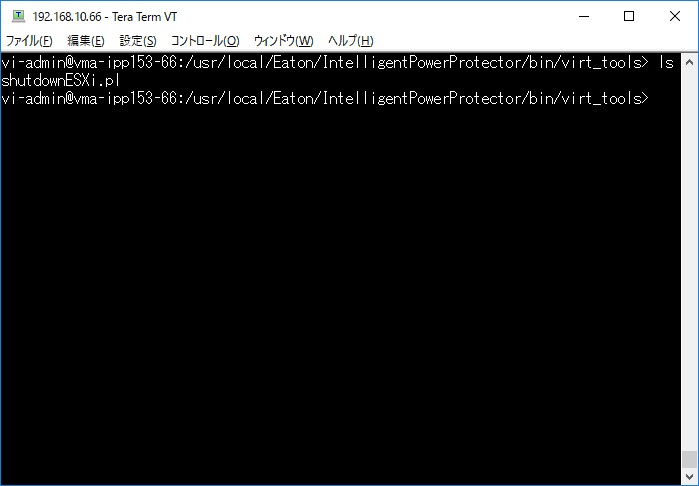
ls コマンドでshutdownESXi.plファイルが存在する事を確認します。
IPP 設定
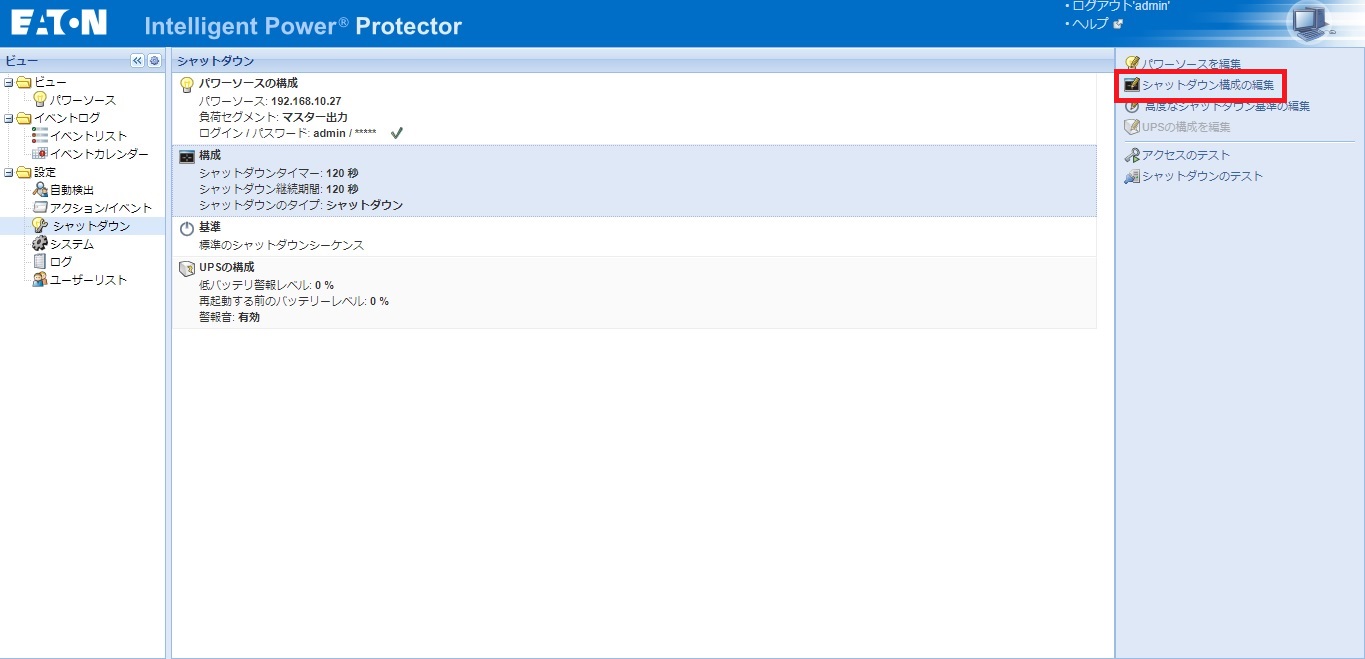
設定 > シャットダウン をクリックします。
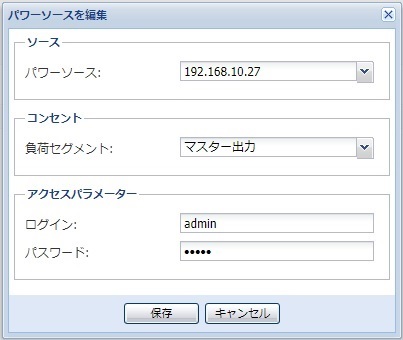
パワーソースを編集 をクリックします。

任意のUPSをパワーソースにして、その他の項目を確認して保存します。
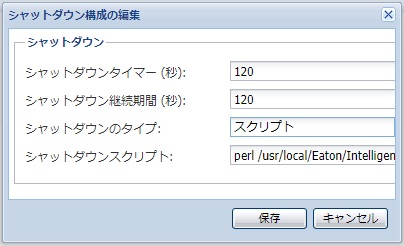
シャットダウン構成の編集 をクリックします。
シャットダウンタイマー=任意。シャットダウンのタイプ=スクリプトにします。
シャットダウンのスクリプトに、下記コマンドを入力します。
perl /usr/local/Eaton/IntelligentPowerProtector/bin/virt_tools/shutdownESXi.pl –server ESXiのIPアドレス –username アカウント –password パスワード
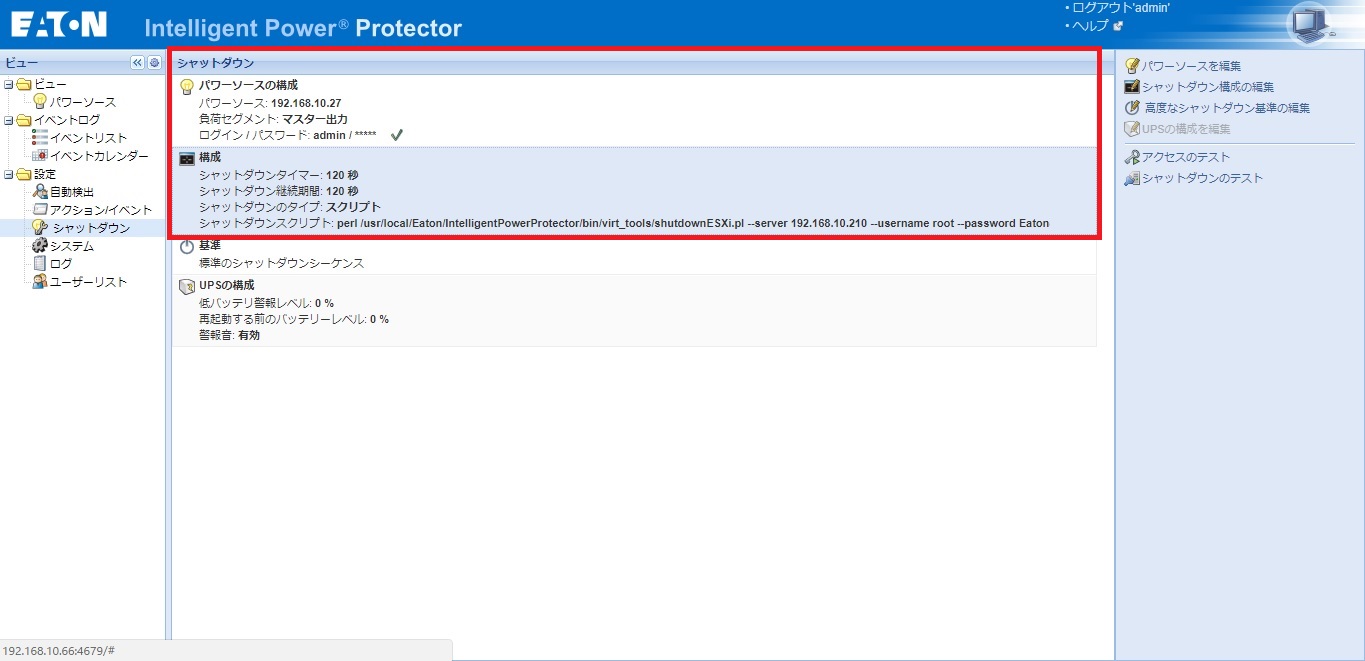
perl /usr/local/Eaton/IntelligentPowerProtector/bin/virt_tools/shutdownESXi.pl --server 192.168.10.210 --username root --password Eaton
パワーソースとシャットダウンの構成が反映された事を確認します。
シャットダウンテスト
UPSの入力電源ケーブルを抜いて、仮想マシンとESXiホストがシャットダウンすることを確認します。