Debian の問い合わせが増えてきているので、Debianのダウンロード、インストール、起動までの手順を分かりやすく解説します。
ハードウェア構成、システム構成、インターネット環境により、画面遷移が異なる箇所が出てくると思います。あらかじめ、ご了承願います。
解説環境
VMware ESXi 6.5 ホストに仮想マシンを作成して、下記OSをインストール。
・Debian 9.3.0 (amd64版)
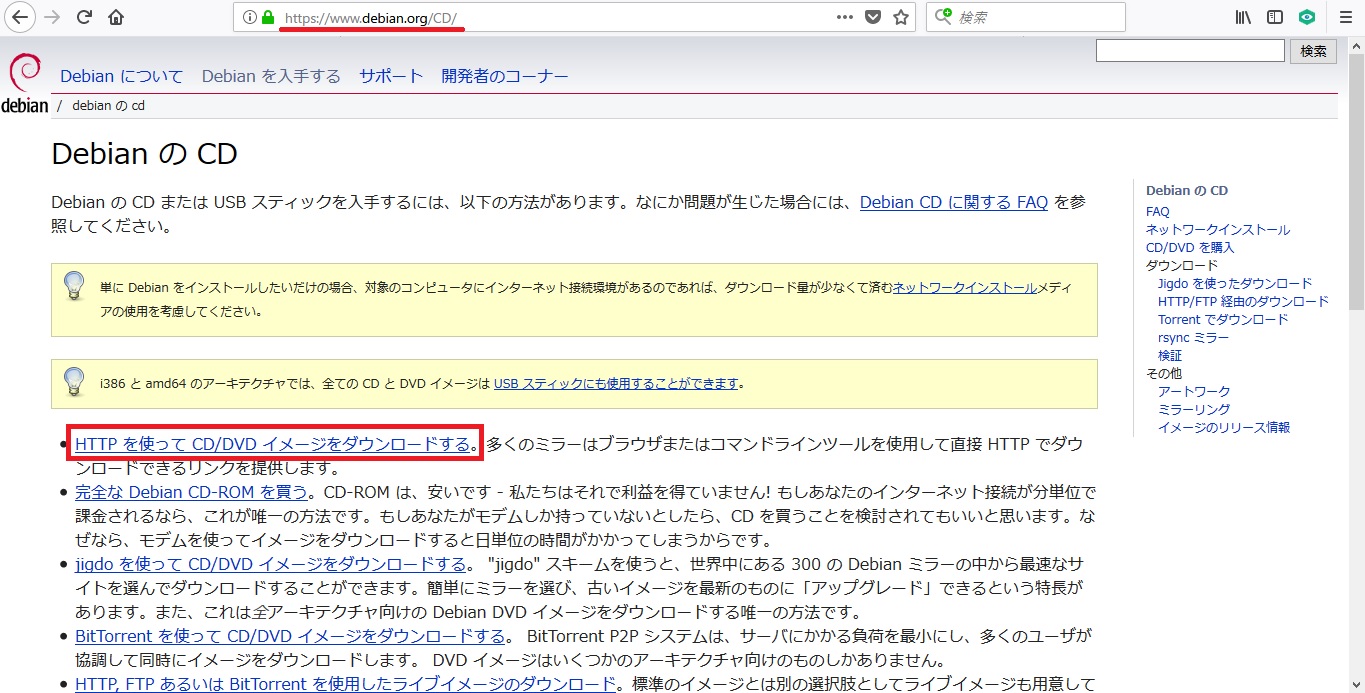
Debianをダウンロードする
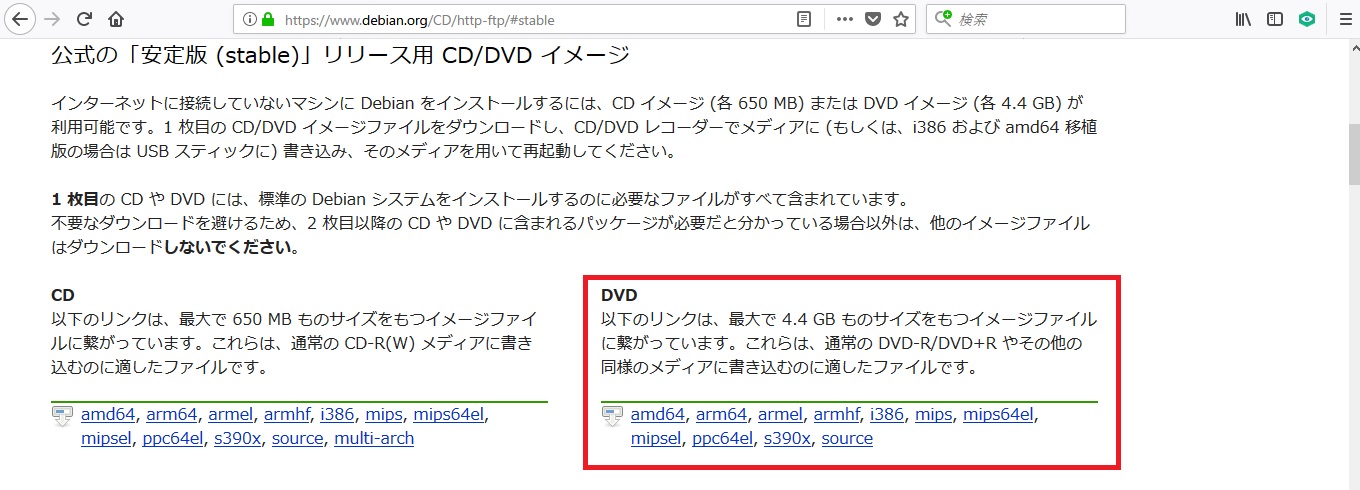
https://www.debian.org/CD/ にアクセスして、[HTTP を使って CD/DVD イメージをダウンロードする]を選択します。
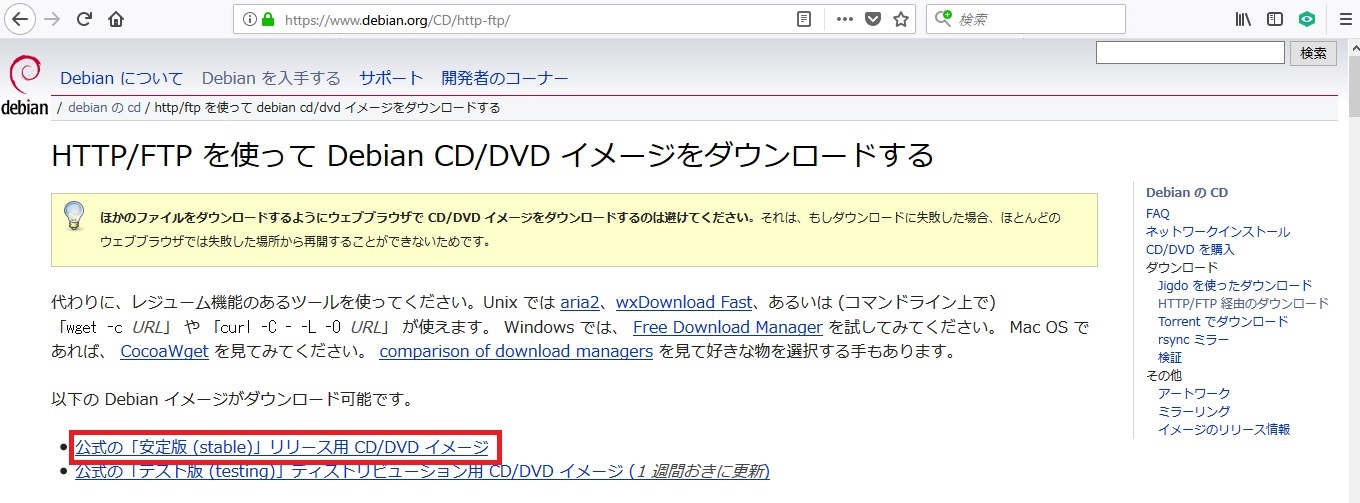
[公式の「安定板(stable)」リリース用 CD/DVD イメージ]を選択します。
 [DVD]の中から必要なパッケージを選択します。
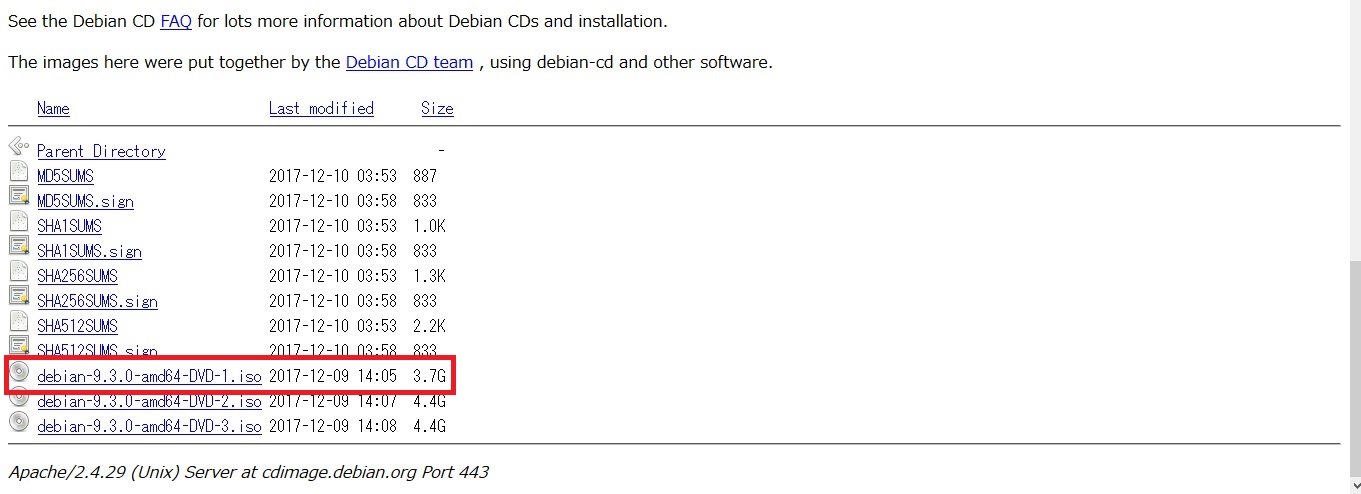
 [debian-9.3.0-XXX-DVD-1.iso]を選択します。
Debianをインストールする
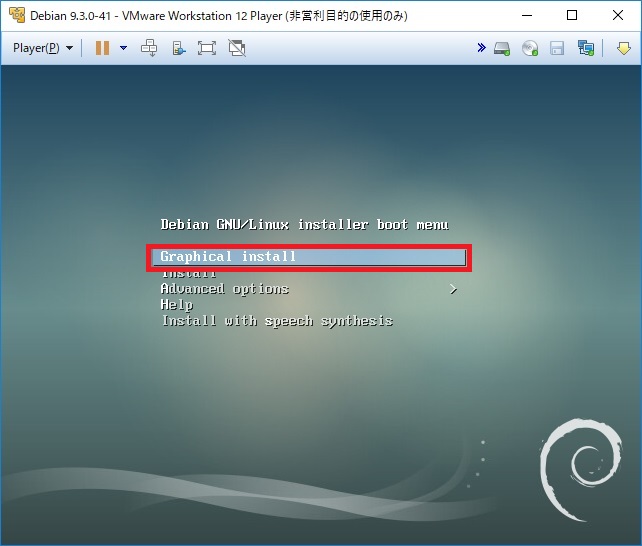
ダウンロードしたISOをマウントして仮想マシンを起動します。
[Graphical install]を選択します。
Select a languageは、[Japanese – 日本語]を選択します。

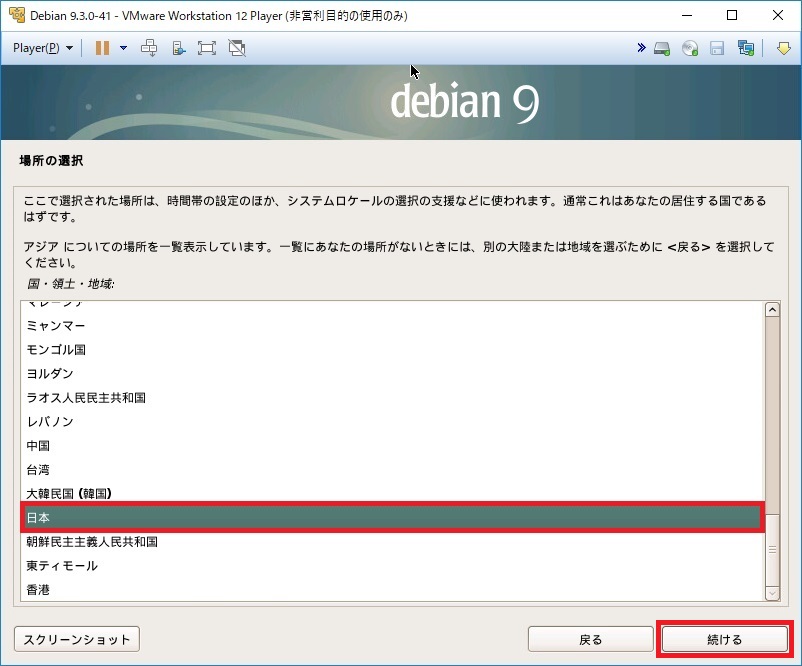
場所の選択は、[日本]を選択します。
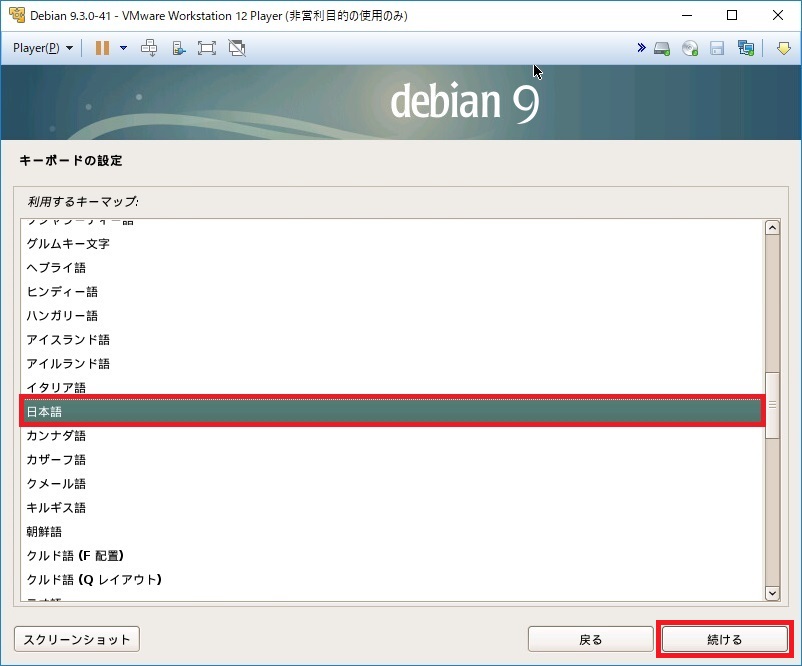
キーボードの設定は、[日本語]を選択します。
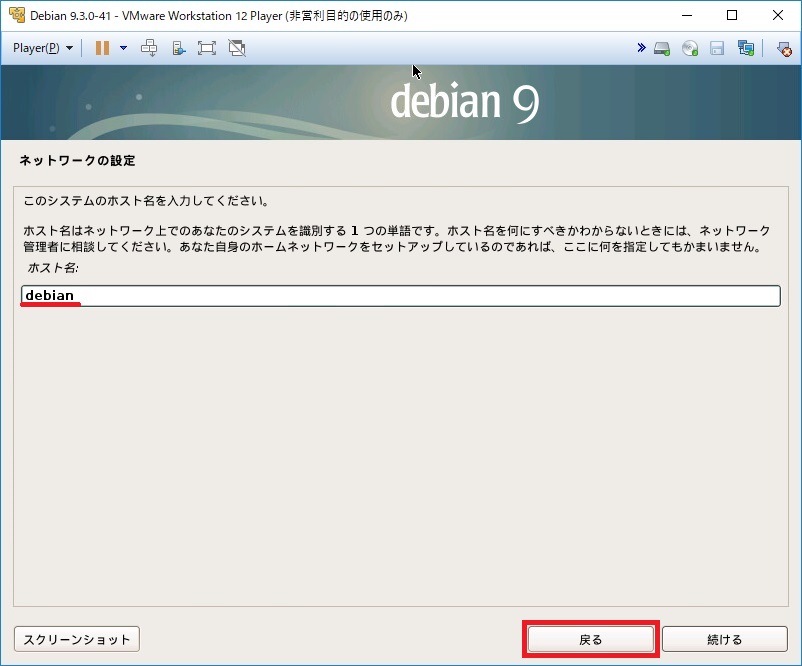
本環境ではDHCPサーバが存在するため、IPアドレスの設定が省略されました。
[戻る]を押してIPアドレスの設定を行います。不要であれば、[続ける]を選択します。
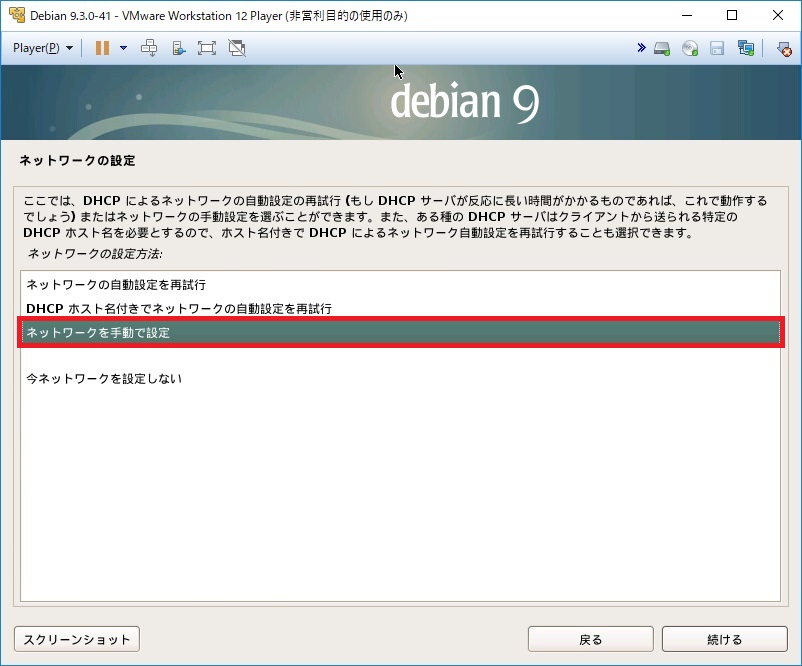
[ネットワークを手動で設定]をダブルクリックします。
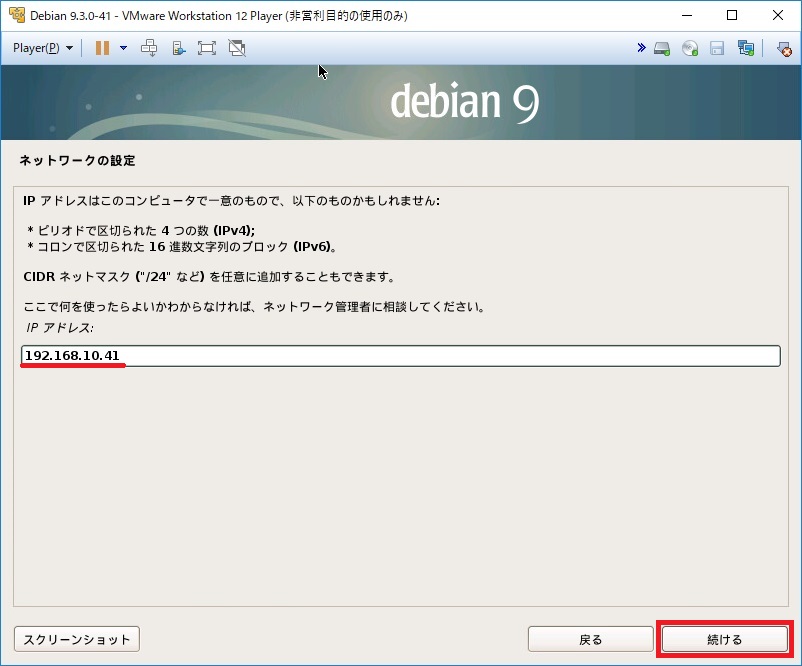
IPアドレスを入力します。
サブネットマスクを入力します。

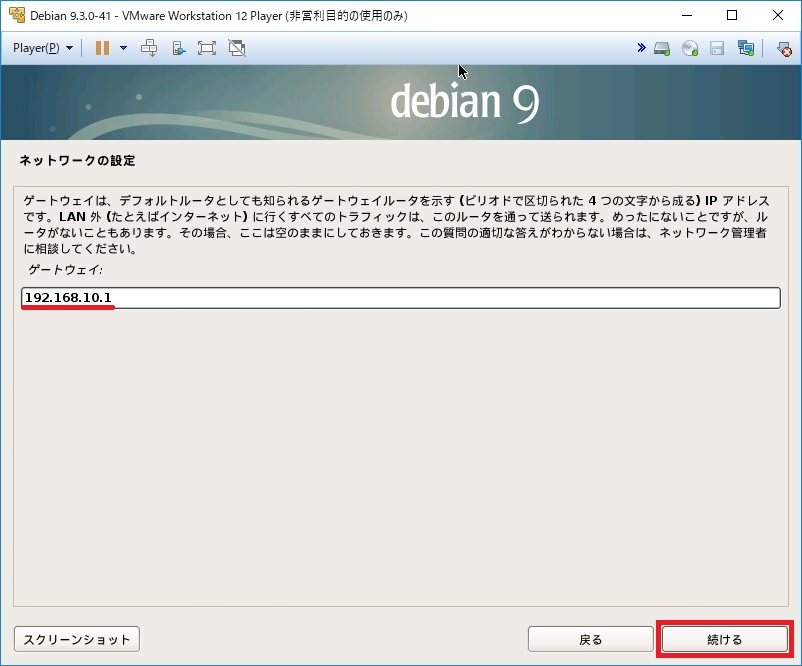
ゲートウェイを入力します。
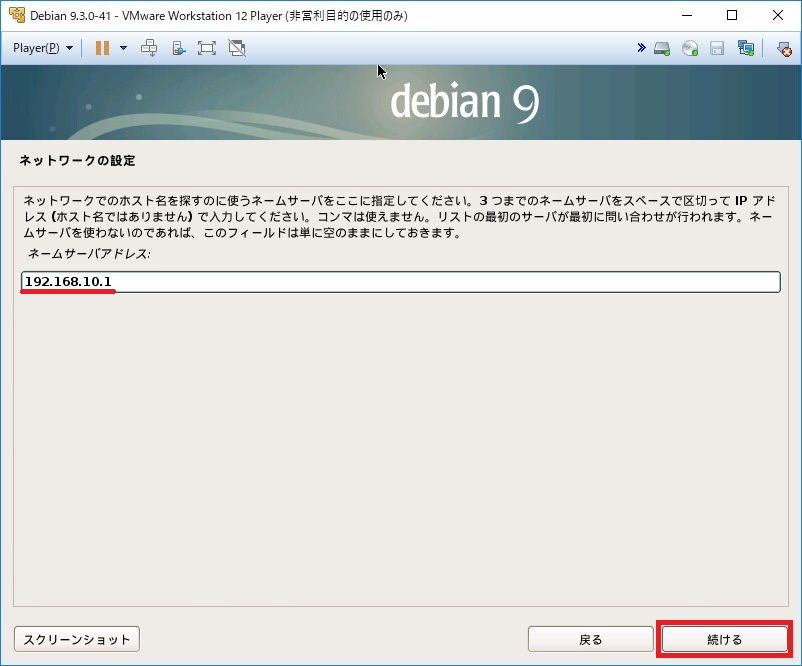
DNSサーバを入力します。
ホスト名を入力します。

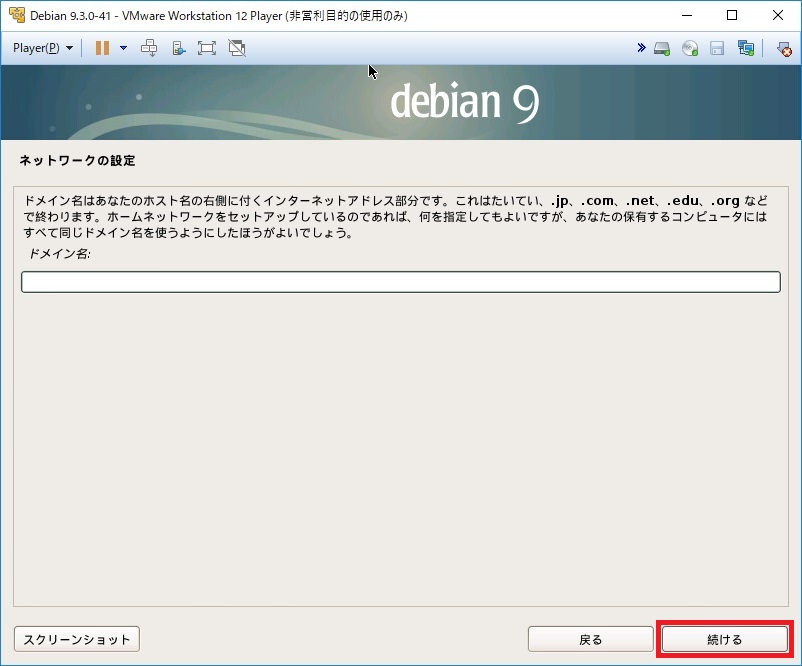
ドメイン名を入力します。
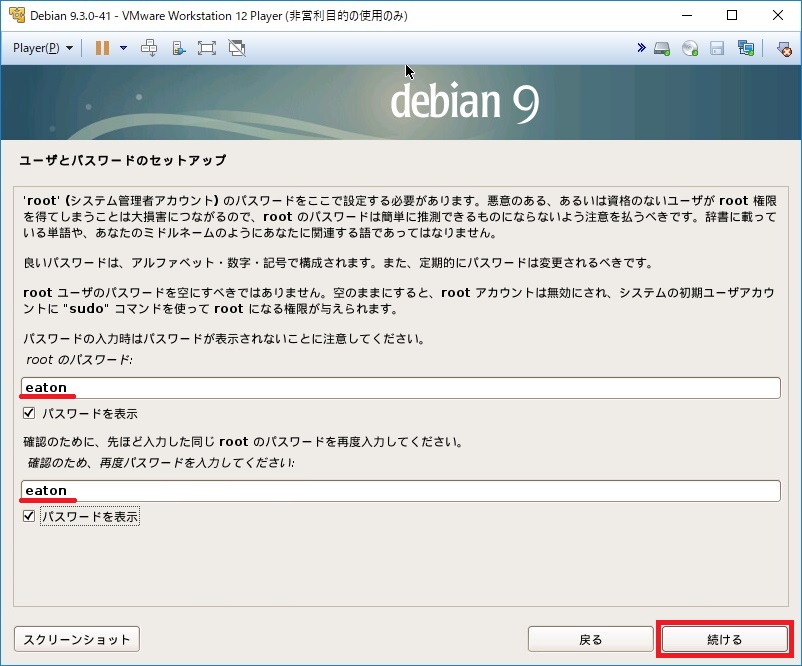
root(システム管理者アカウント)のパスワードを入力します。
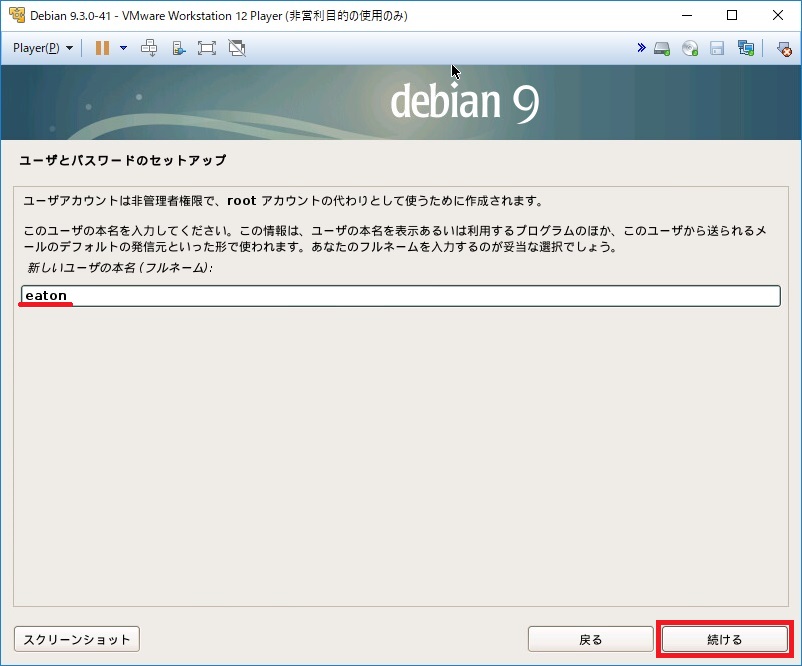
ユーザアカウントの本名を入力します。
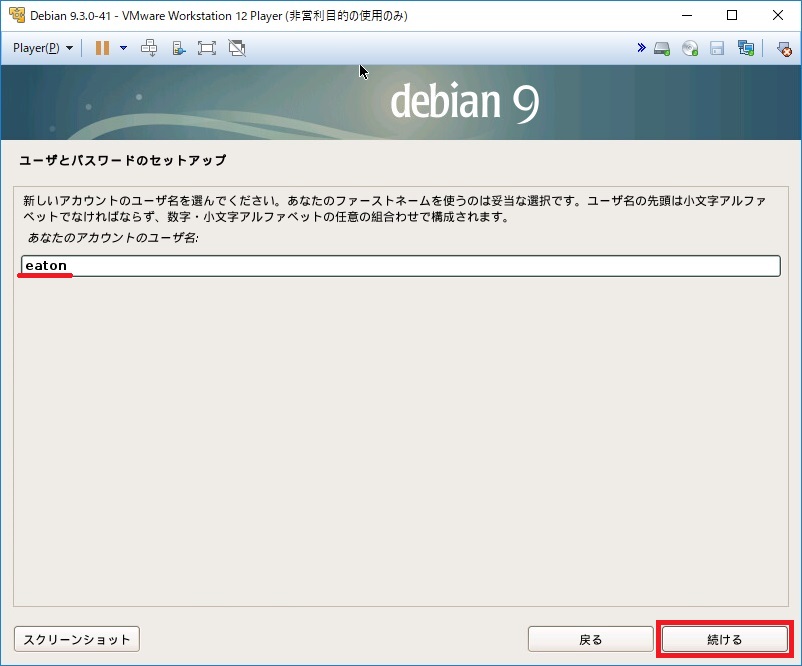
ユーザアカウントを入力します。
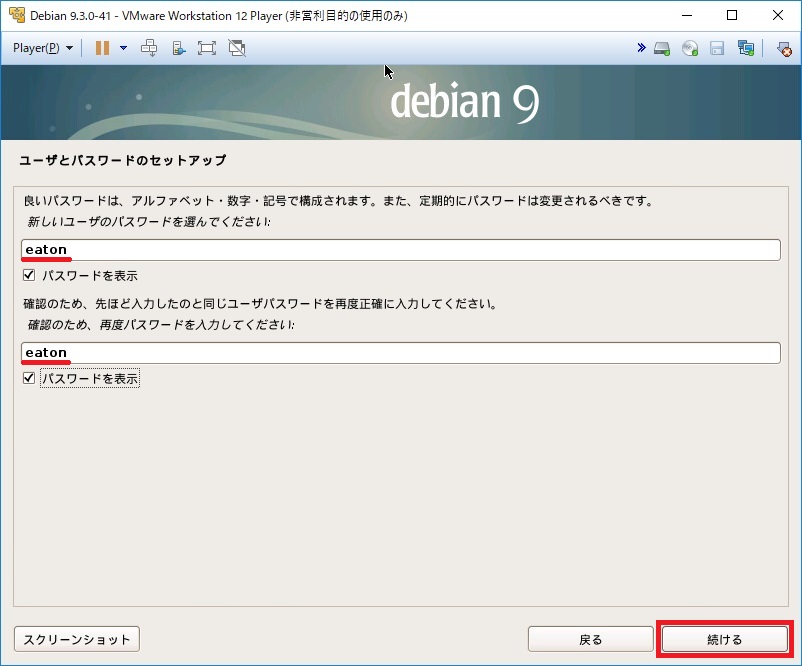
ユーザアカウントのパスワードを入力します。
パーティショニングの方法を選択します。ここでは[ディスク全体を使う]を選択しました。

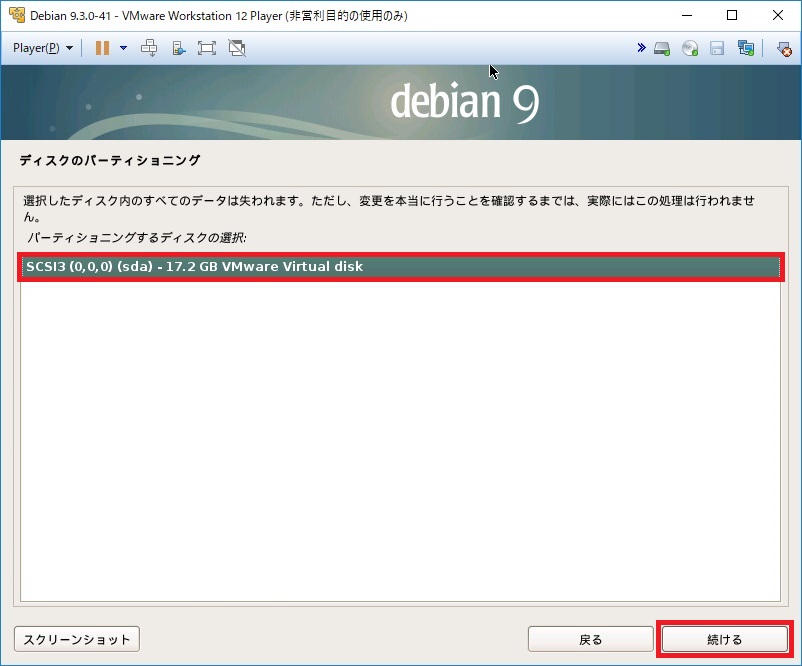
パーティショニングするディスクを選択します。
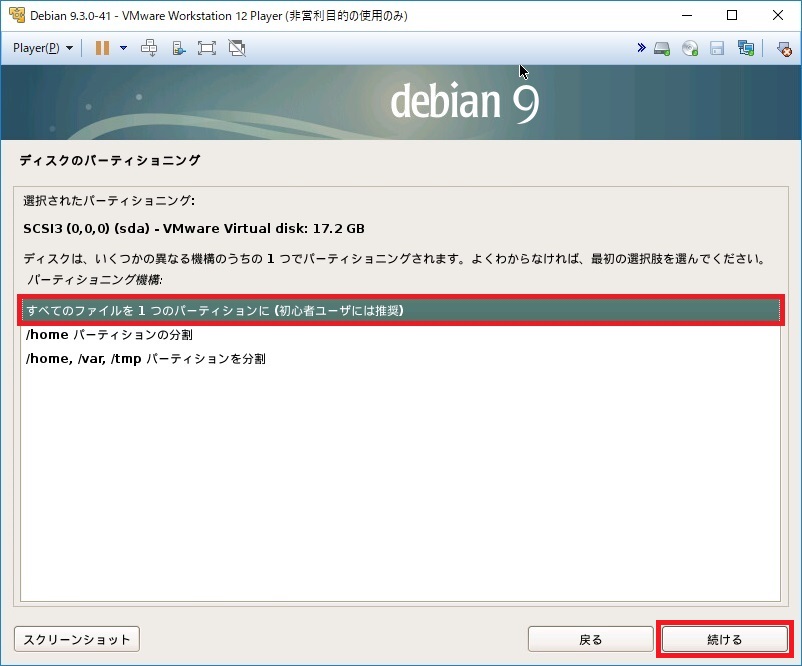
パーティショニング機構を選択します。よくわからなければ、[最初の選択肢]を選択して下さい。
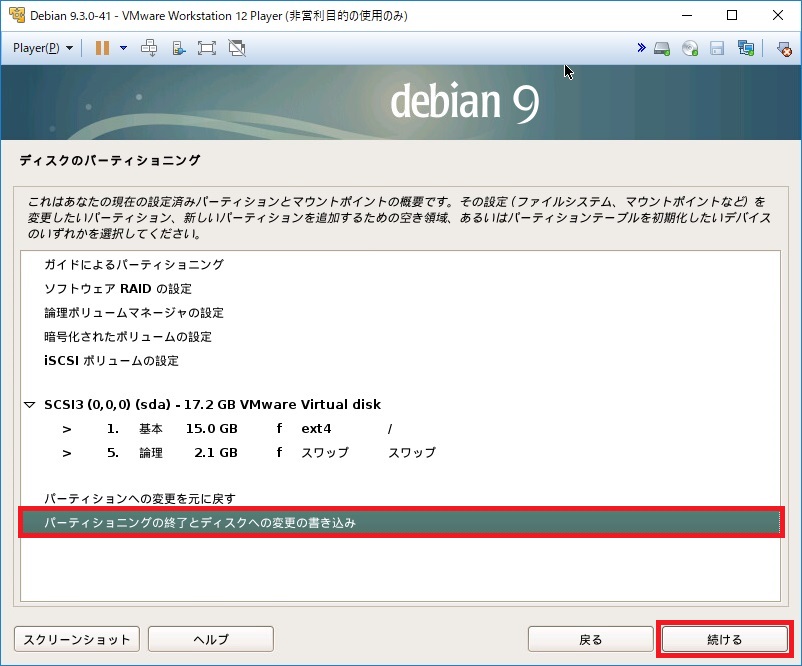
[パーティショニングの終了とディスクの変更の書き込み]を選択します。
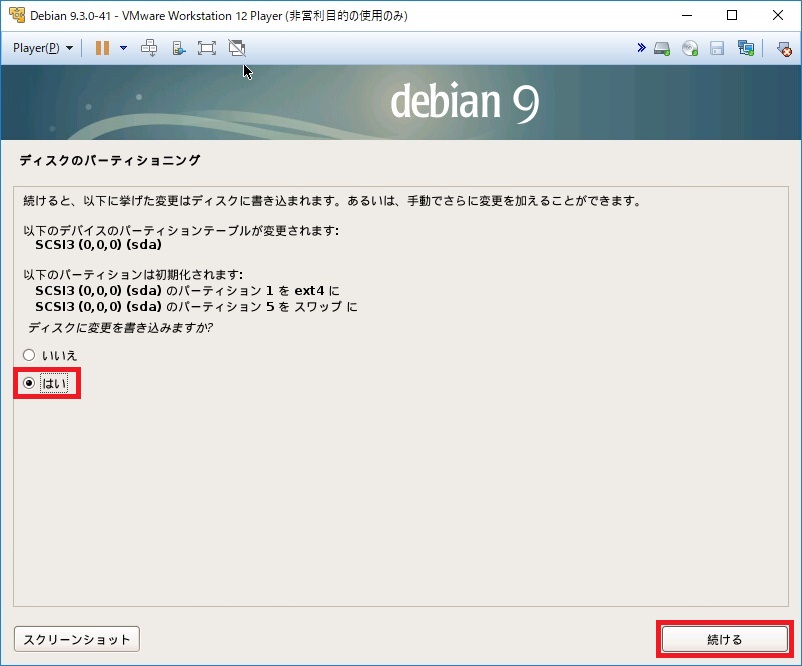
ディスクに変更を書き込みますか?は、[はい]を選択します。
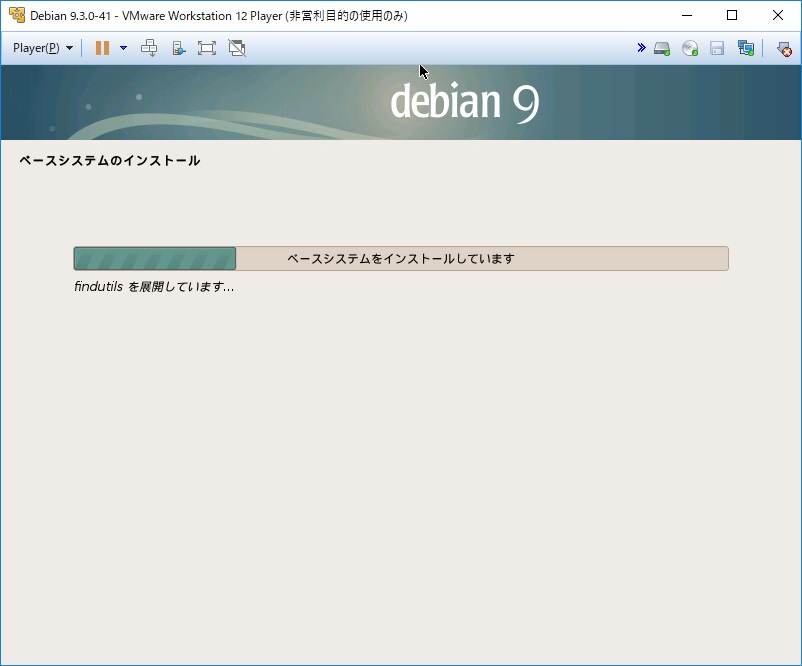
ベースシステムのインストールが始まります。
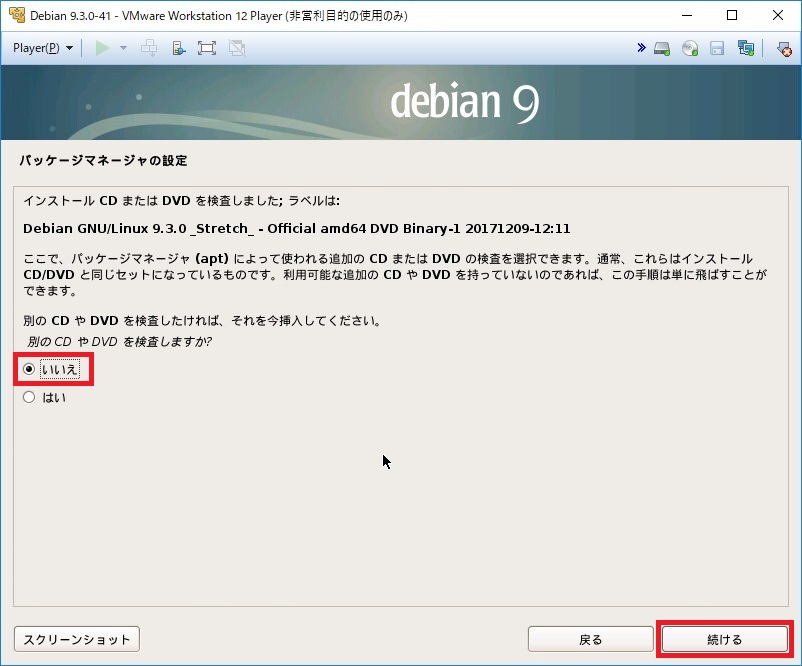
別の CD や DVD を検査しますか?は、[いいえ]を選択します。
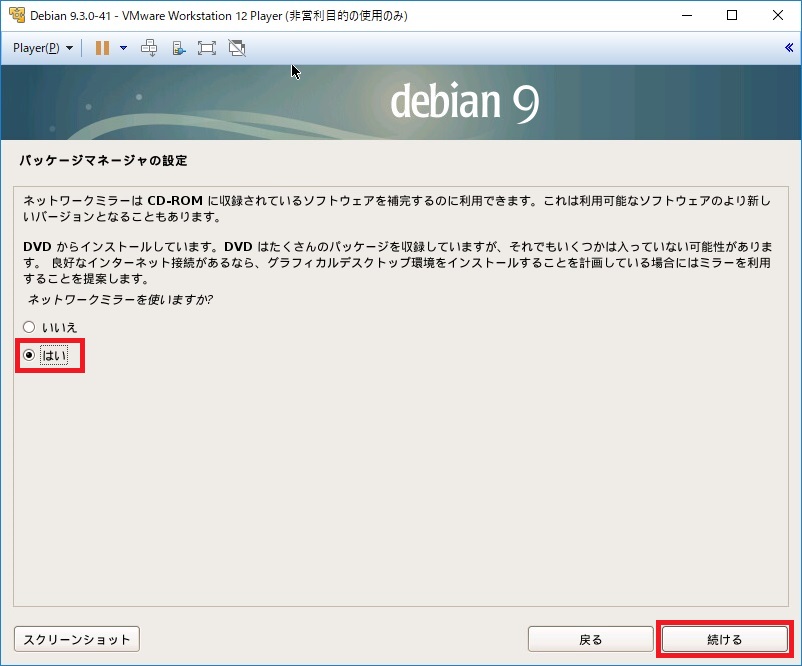
ネットワークミラーを使いますか?は、インターネット接続環境があれば、[はい]。なければ、[いいえ]を選択します。ここでは[はい]を選択しています。
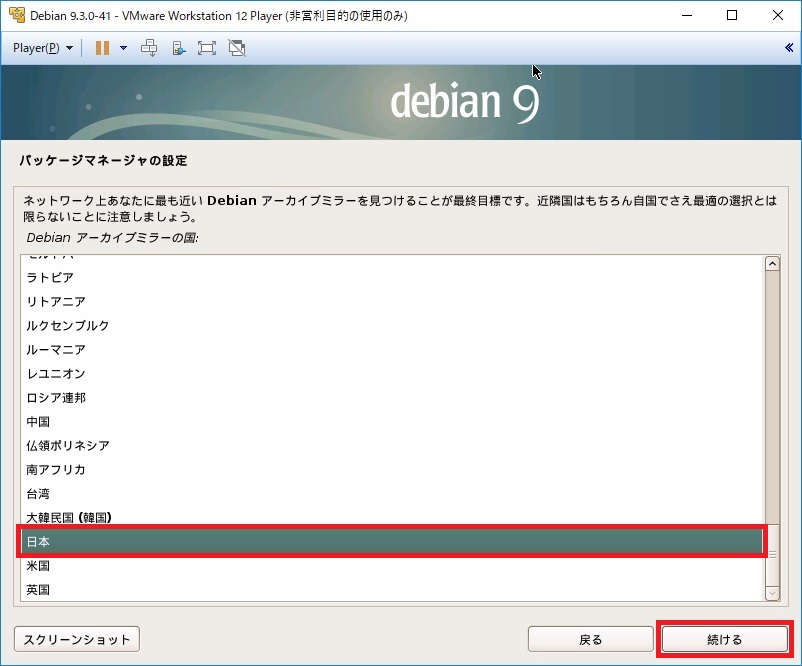
アーカイブミラーの国は、[日本]を選択します。
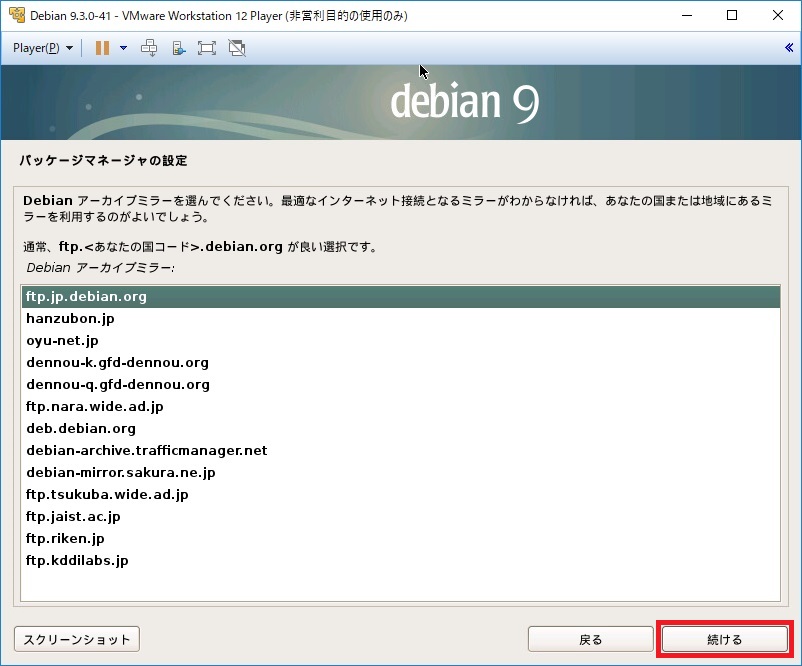
[ftp.jp.debian.org]を選択します。
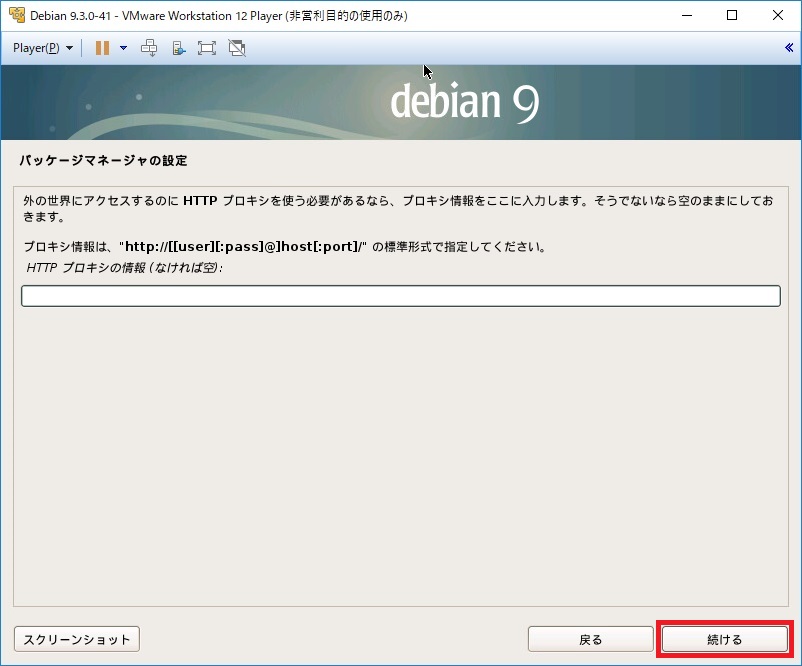
ダウンロードにあたり、プロキシの設定が必要であれば入力します。不要であれば[空欄]のままにしておきます。
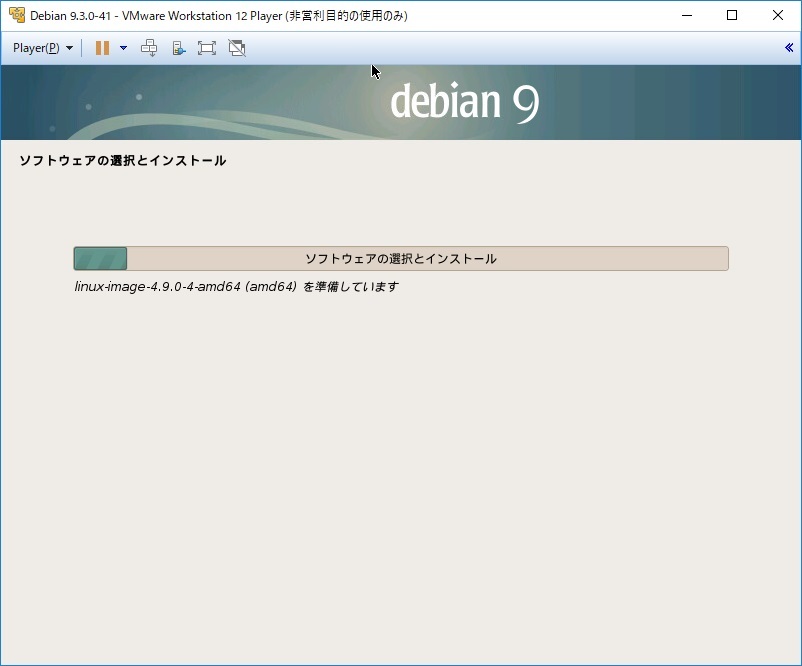
ソフトウェアのインストールが始まります。
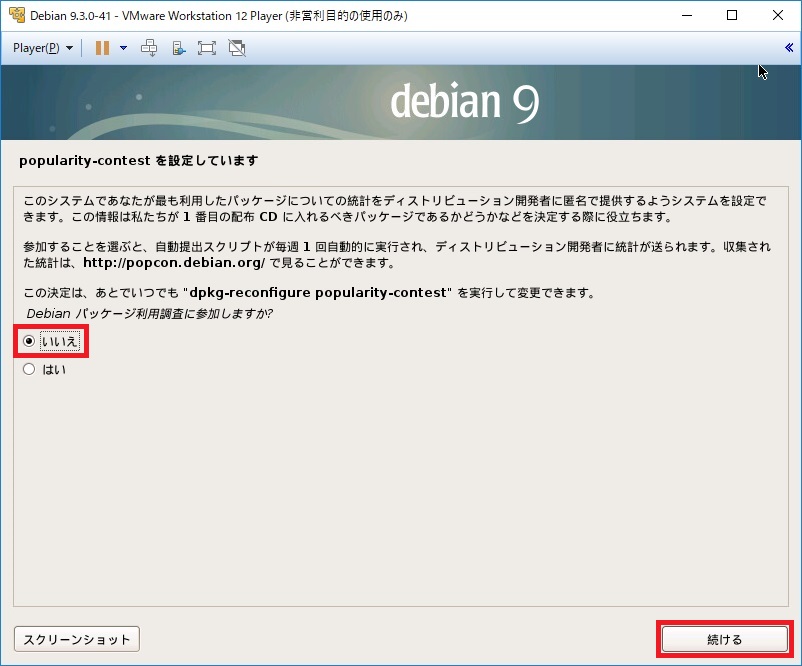
パッケージ利用調査に参加しますか?は、[いいえ]を選択します。
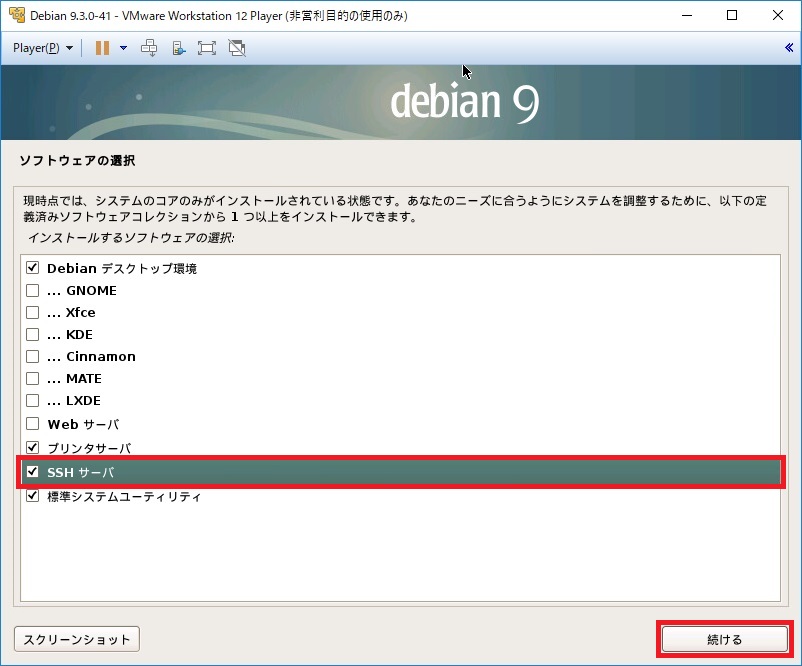
現時点では、システムのコアのみがインストールされている状態です。
追加したいソフトウェア(サービス)を選択します。ここでは、SSHサーバを追加しました。
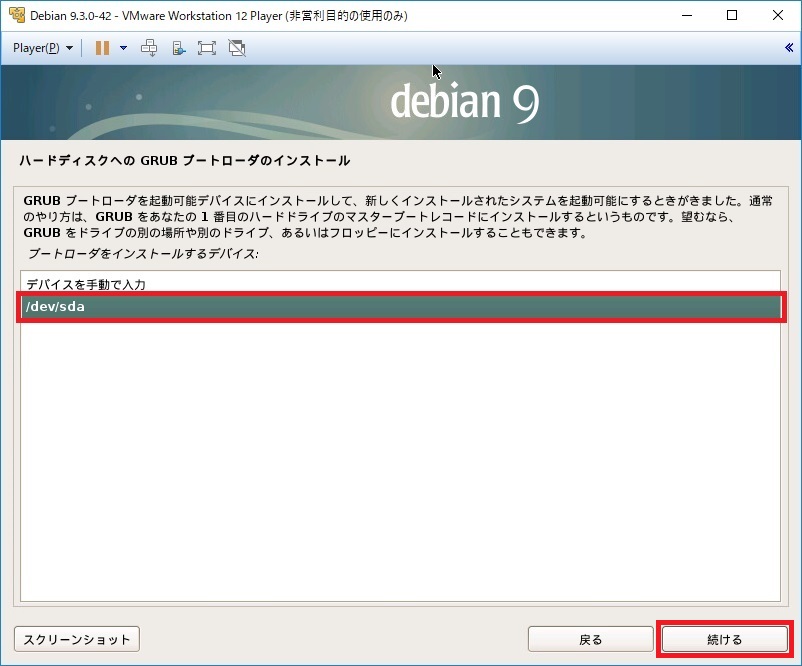
GRUB ブートローダのインストール先を選択します。ここでは、[ /dev/sda ]を選択しました。
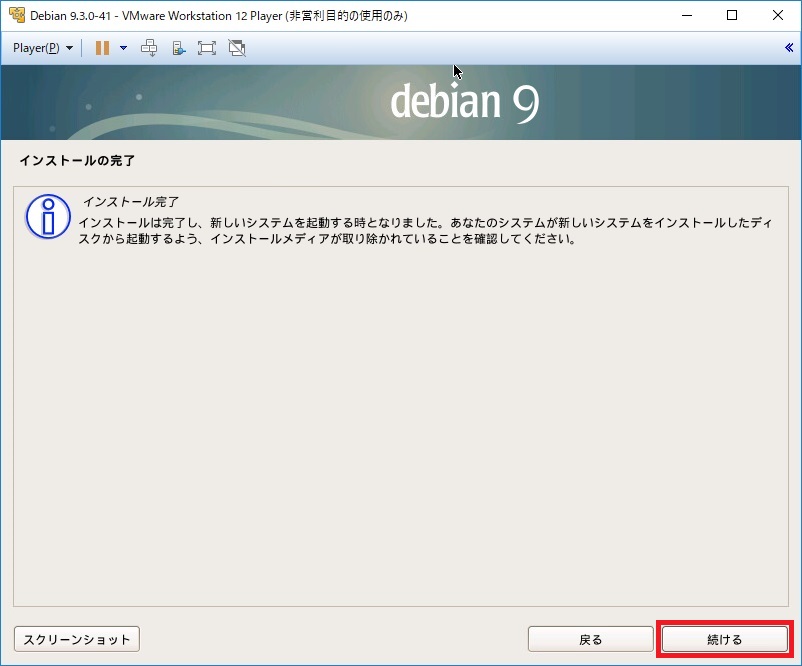
全てのインストールが完了すると、下記画面が表示されます。
再起動する前に、メディアを取り出してください。
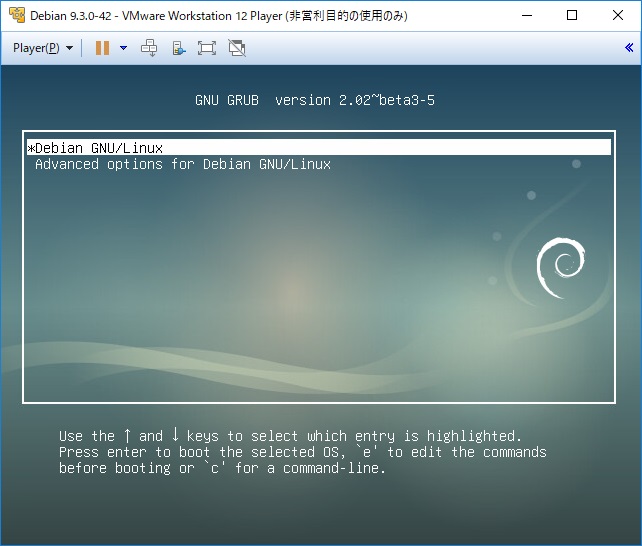
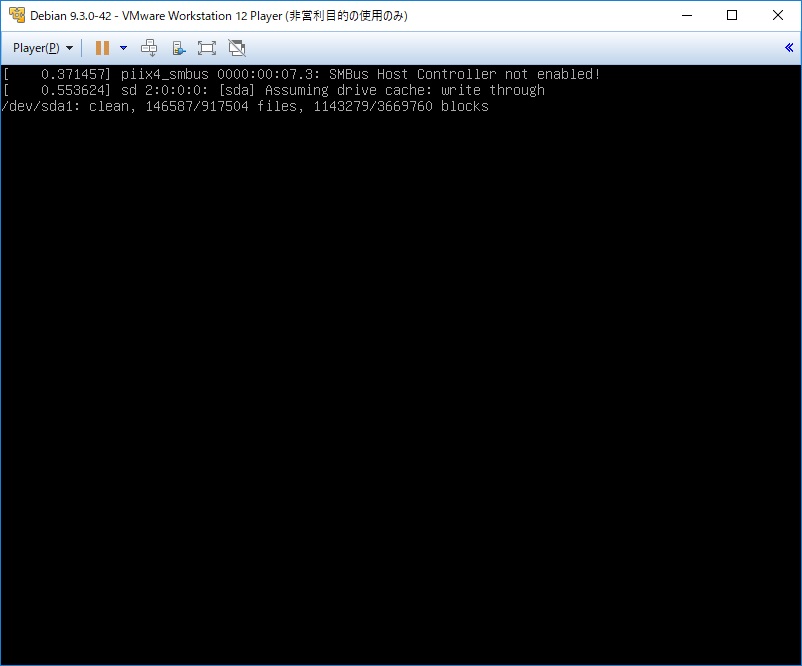
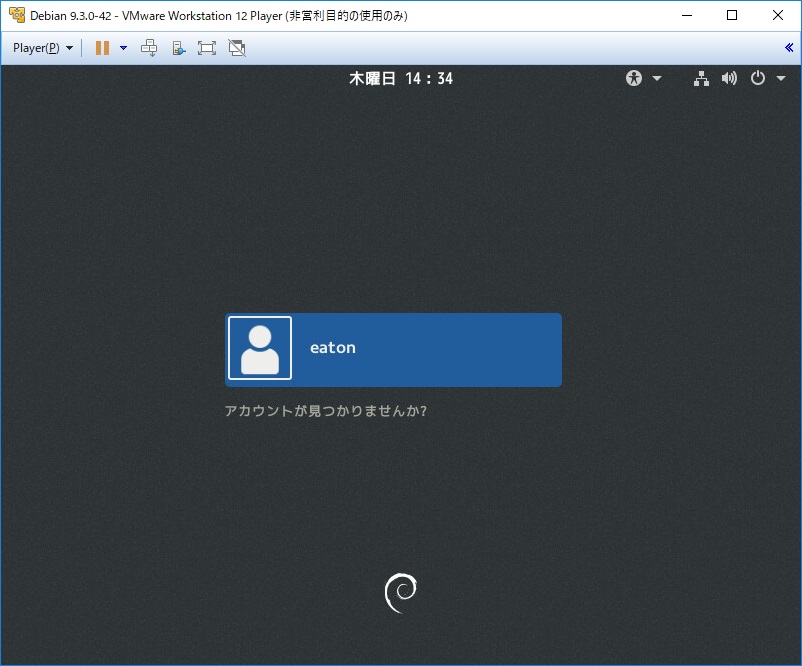
Debian 起動確認
Debianがインストールされた事が確認できます。
最後に
最後までお付き合い頂きまして、ありがとうございました。
Eaton UPS管理ソフトウェアIPPは、Debianに対応しております。
Debianの電源保護は、Eaton UPSをご検討ください。
以上、村田@ダイトロンがお届けしました。