USBメモリにWindowsをインストールする手順です。作成したUSBメモリをPCに接続して、BIOSの起動順序をUSBメモリ>内蔵ディスクにすると、USBメモリのWindowsで起動します。
※HDDやSSDにWindowsをインストールするためのインストール用USB作成手順ではありません。
必要アイテム
- Windows ISO
- USBメモリ
- Hasleo WinToUSB
Windows ISO
当ブログでは、Windows 10 HomeをUSBメモリにインストールします。
マイクロソフト社からISOファイルをダウンロードしてください。
https://www.microsoft.com/ja-jp/software-download/windows10
USBメモリ
Windowsをインストールするので、大容量が望ましいです。最低でも128GB、できれば256GBのUSBメモリを用意してください。OSが動作するので、読み取り速度、書き込み速度、共に重要です。当ブログは、SAMSUNGのUSBメモリを推奨します。
USBメモリは書き込み速度を重視しよう
Hasleo WinToUSB
USBメモリにWindowsをインストールするツール。Windows 10 Homeは無償のFree版で利用できるが、Windows 10 Proなら有償のProfessional版、Server OSなら有償のEnterprise版が必要。
https://www.easyuefi.com/wintousb/
USBメモリにWindows 10 Homeをインストールする
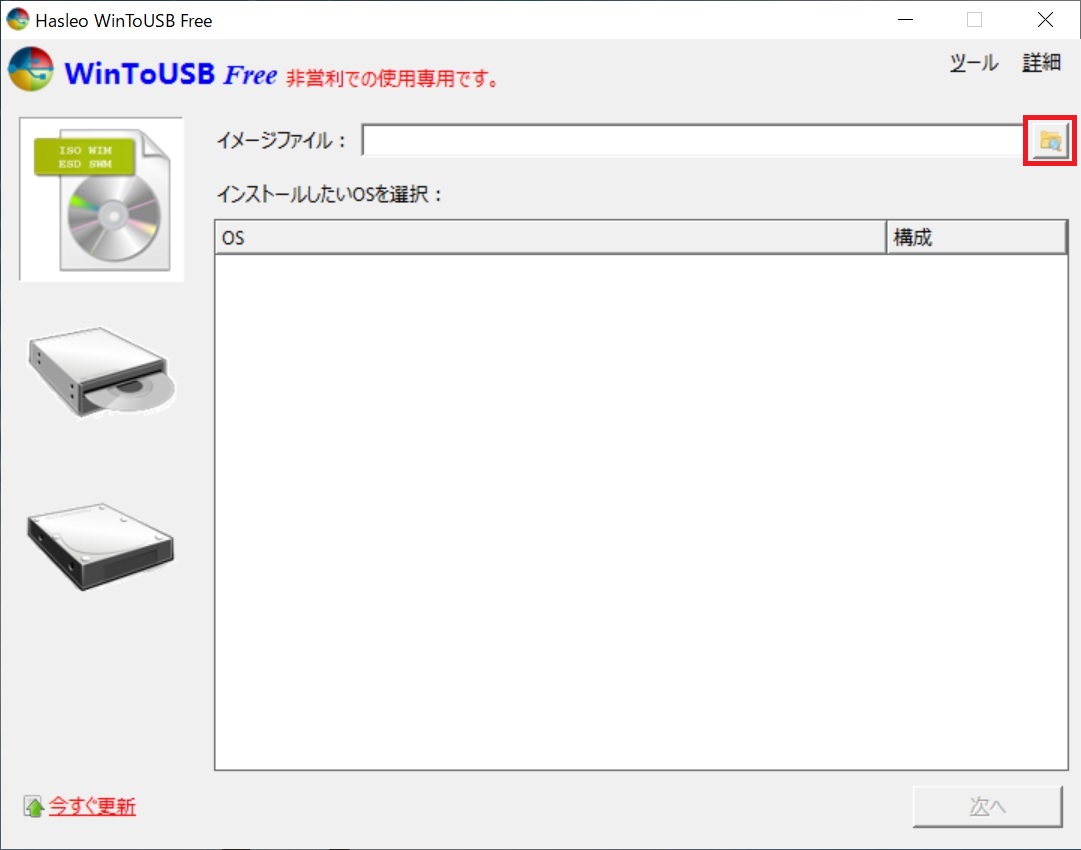
イメージファイルにWindows ISOをセットします。
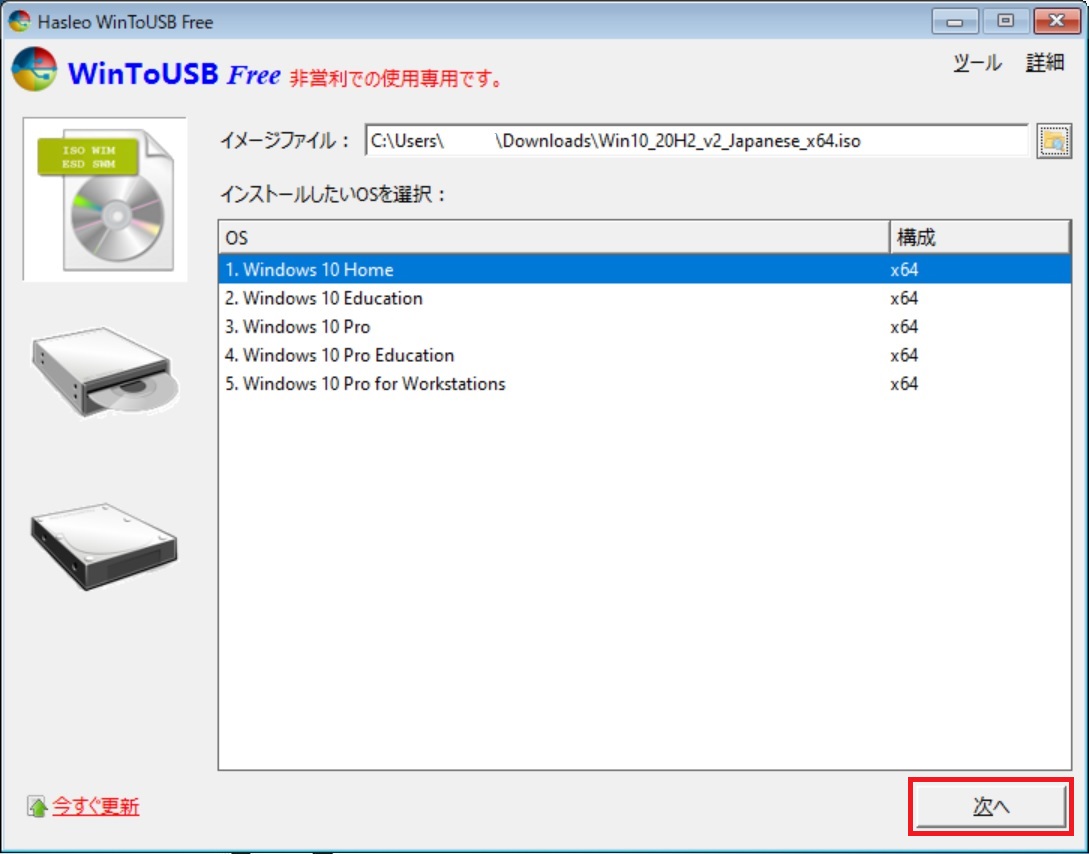
Windows 10 Homeを選択して次へ
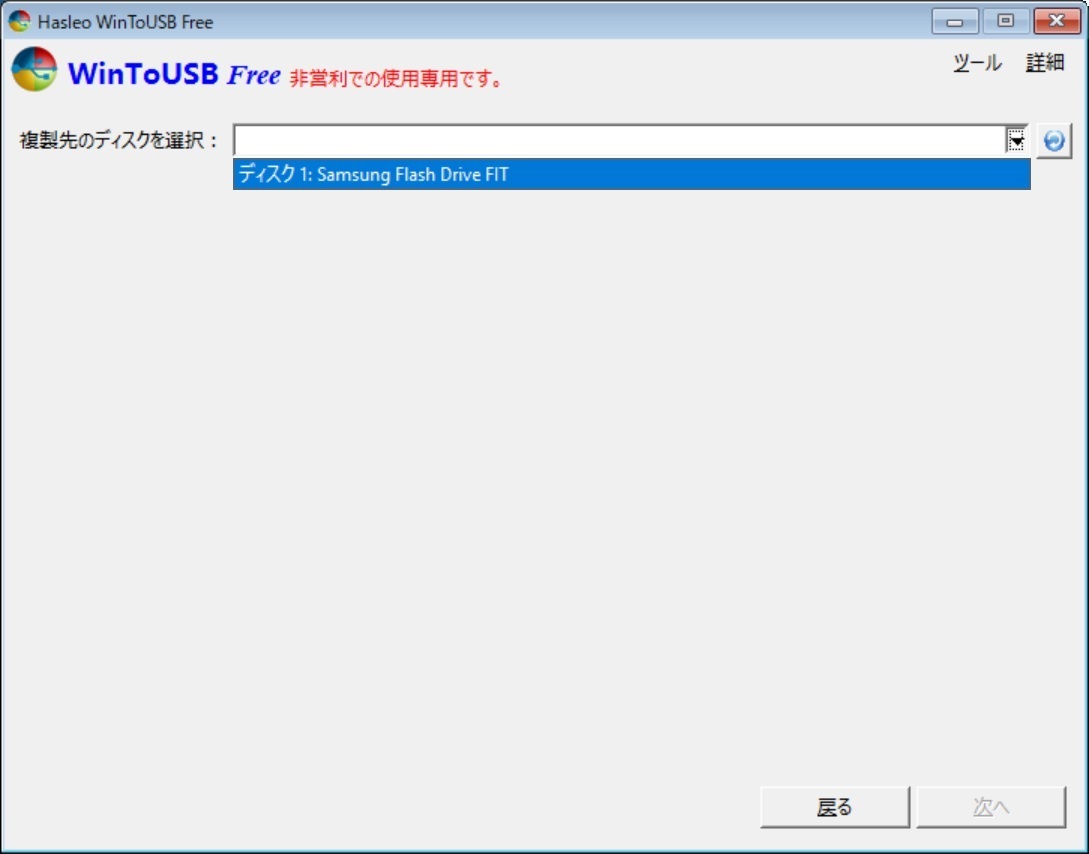
USBメモリを選択して次へ
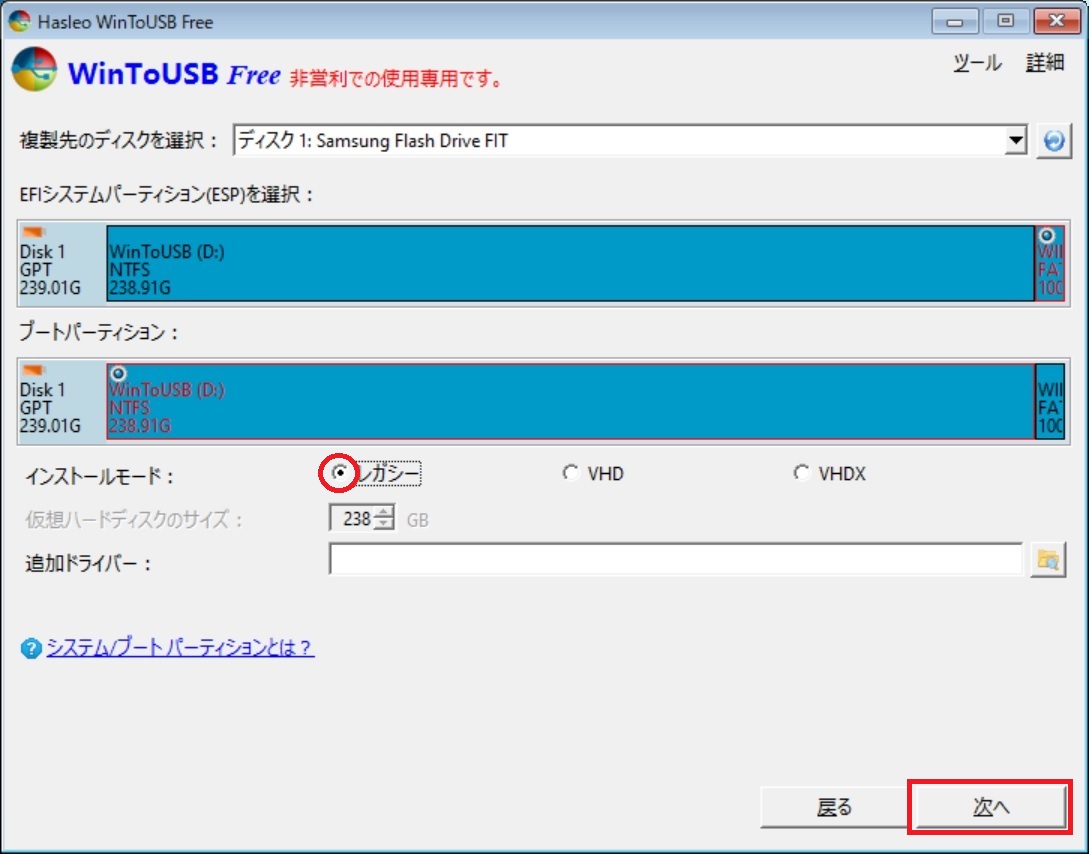
パーティション形式を選択して次へ
※昔のPCはBIOSが主流でしたが、現在はUEFIが主流です

インストールモードはレガシーを選択して次へ
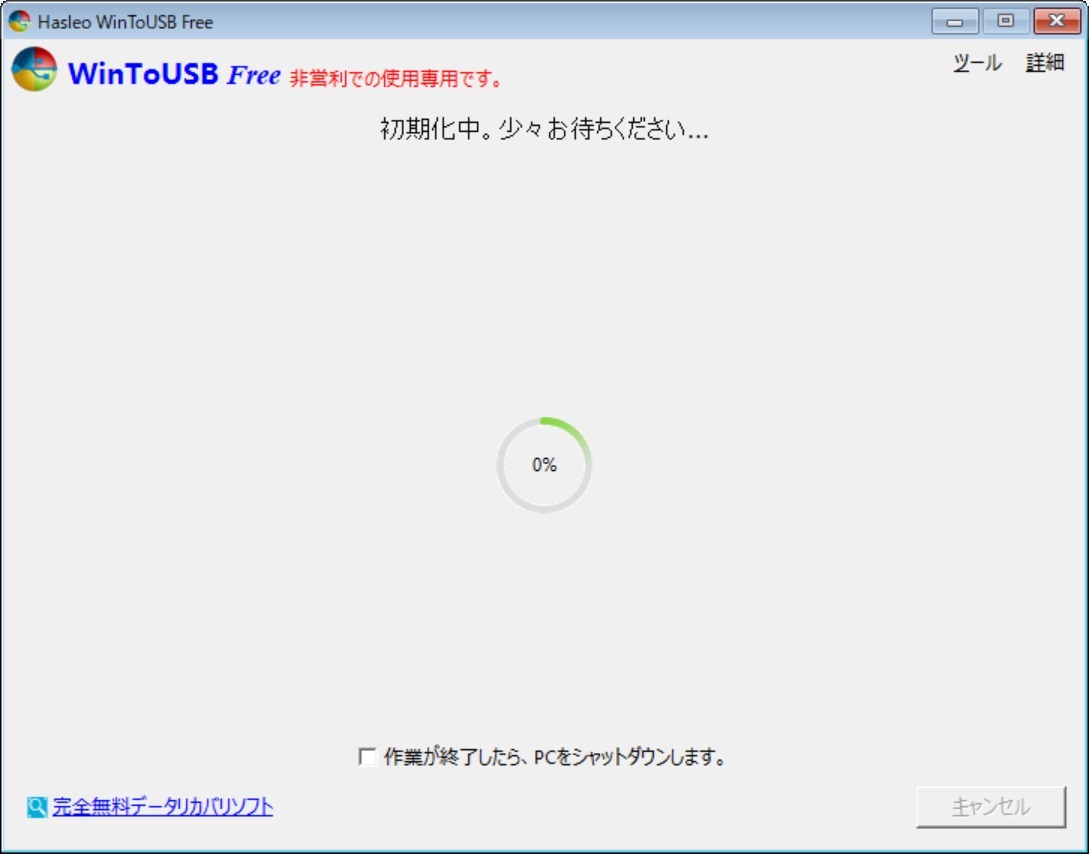
Windowsのインストールが始まります。30分~1時間程度かかります。
インストールが完了しました。

USBメモリで起動
PCのBIOSに入って、起動順序を変更します。起動順序1位をUSBメモリに設定します。
※BIOSはメーカーおよび機種によって異なります。ご使用PCの取扱説明書にてご確認ください。
おわりに
TwitterとYouTubeでEaton UPSの情報を配信しております。よろしくお願い致します。
Twitter : https://twitter.com/eaton_daitron
YouTube : https://www.youtube.com/user/EatonDaito